Way back in autumn I recognized a shimmy feedback during the last ride while breaking up front.There are a few possible causes for this: breaking rotor, pads, floaters, bearings, etc. nothing special but a 2do.
In the context of the “winter modification time” it is now time to post the act of exchanging the front brake pads.
These are the tools:
- PH2
- TX27
- 5 HEX (metric)
- 1/4 HEX
- 5/16 HEX
- 22 HEX (metric)
- torque wrench
- AntiSeize
- Loctite 243
Terms and conditions: All work at own risk, NO warranty in ANY case of damage!
STEP 1
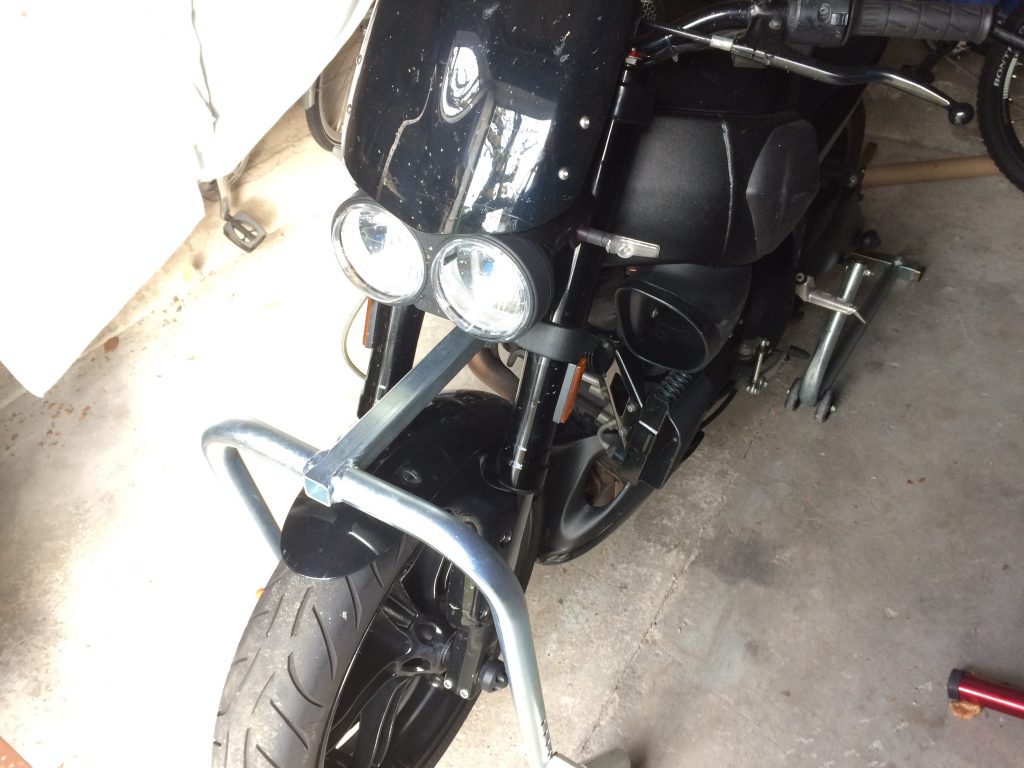
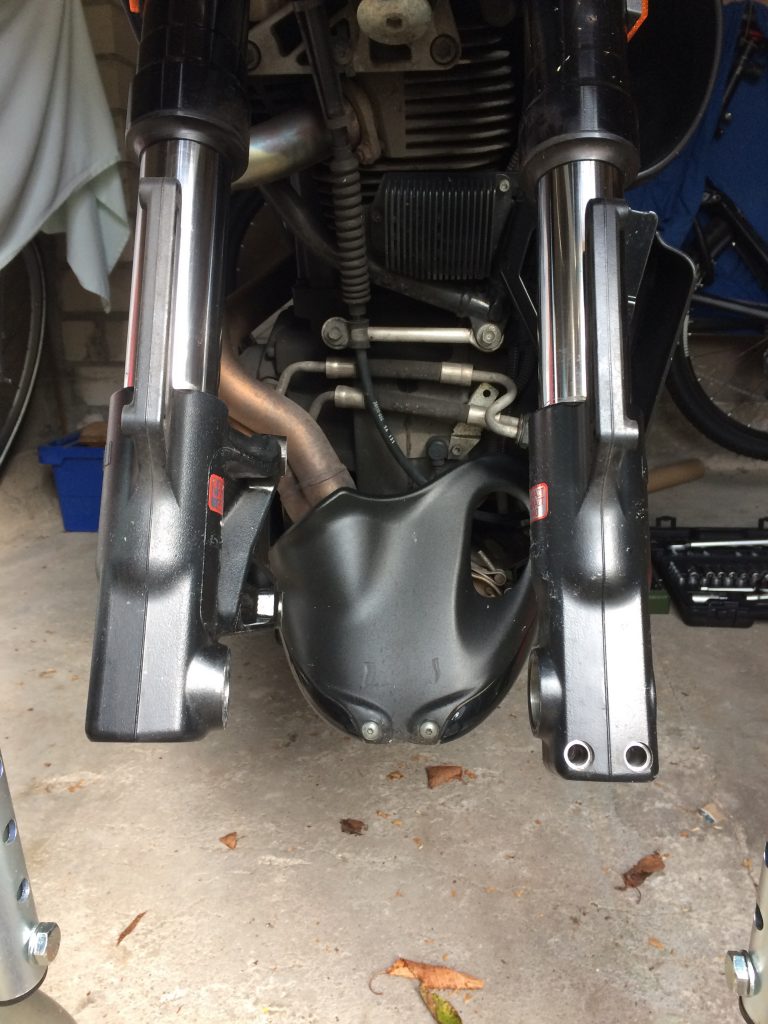
Jack up the bike on front+back so It is possible to disassemble the front wheel.
STEP 2
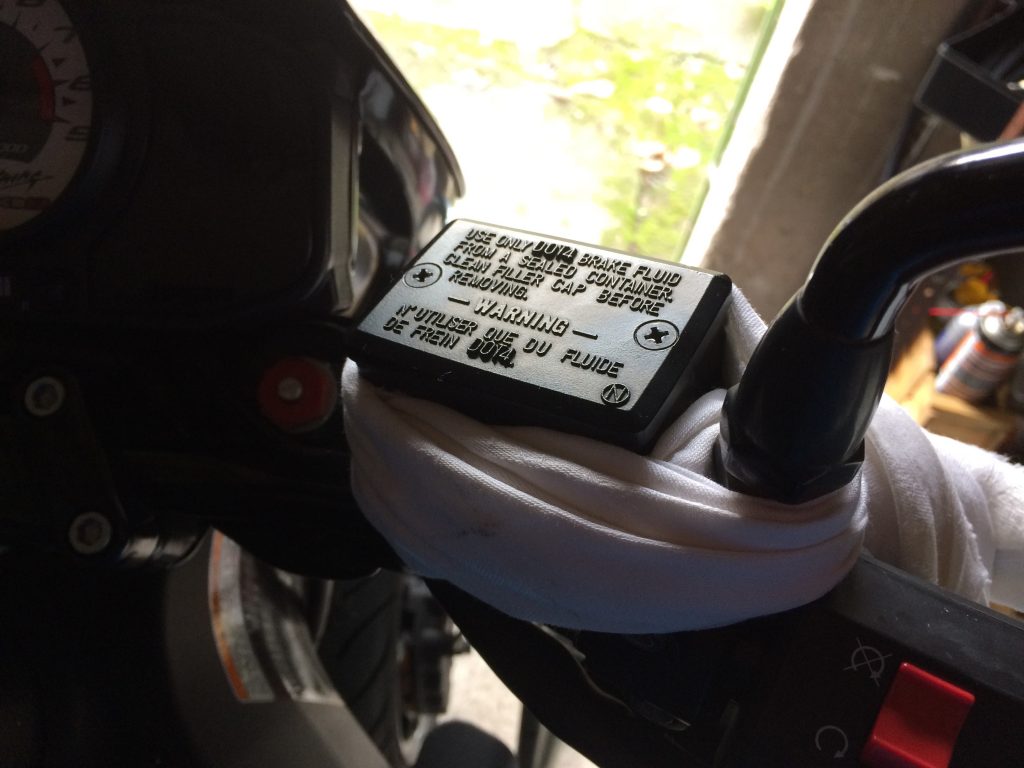
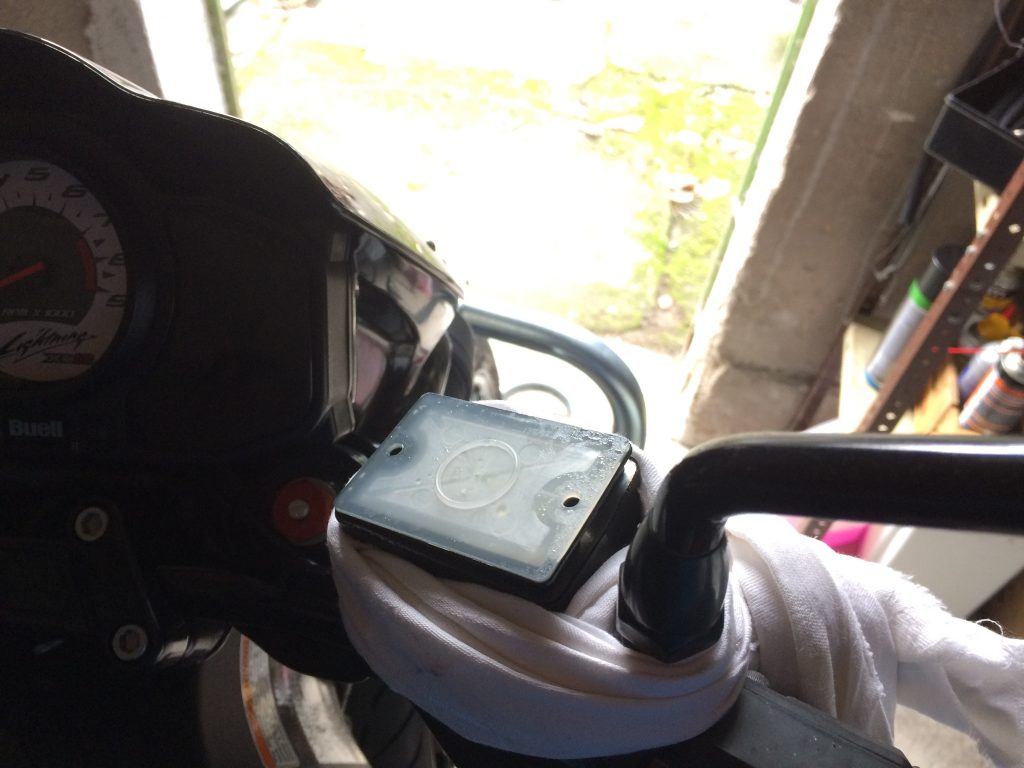
Second is to open the brake fluid reservoir with a PH2. This is needed because later we need to push back the pistons of the break caliper. (TIP – put a towel around, maybe there are a few swaps coming out later).
STEP 3
Now we need to dismount the front fender for a better view and a free working space – two TX27 screws on each side of the fender.
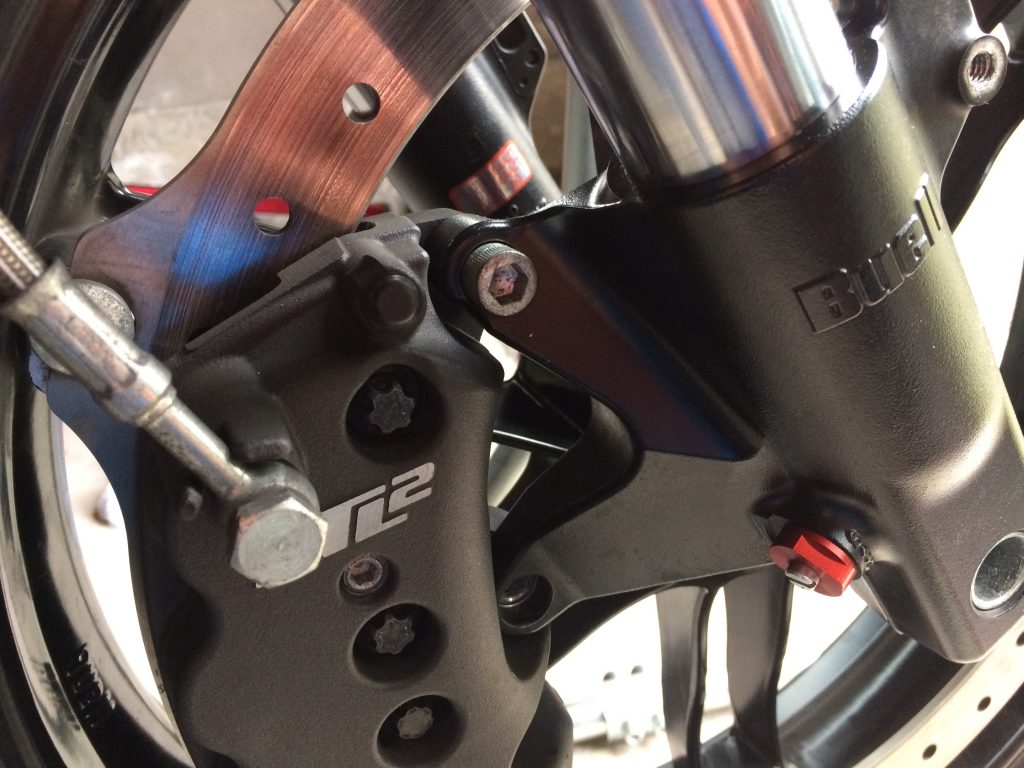
After that you can loosen the two axis fasteners with the 1/4 HEX on the left side of the fork.

STEP 4
Now you can loosen the break caliper (two 5/16 HEX)
STEP 5
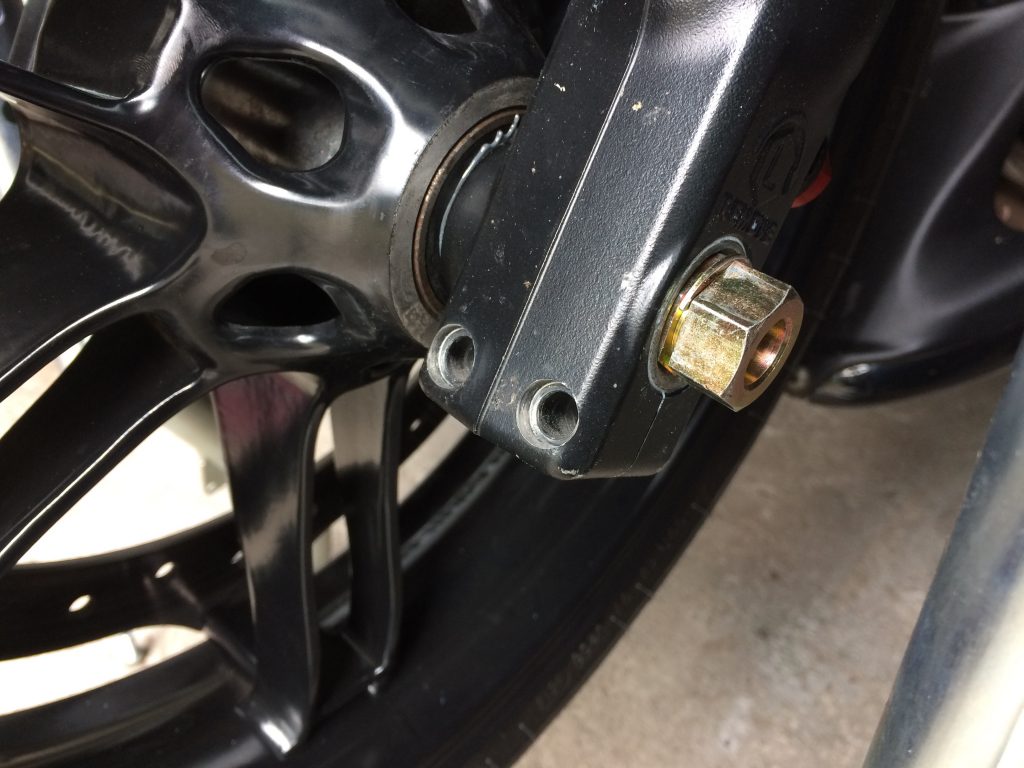
After that you can loosen the axis. For this you need the socket nut from the Buell tool kit (22 metric HEX) and a HEX 22 on your wrench – attention this one is left hand threaded!
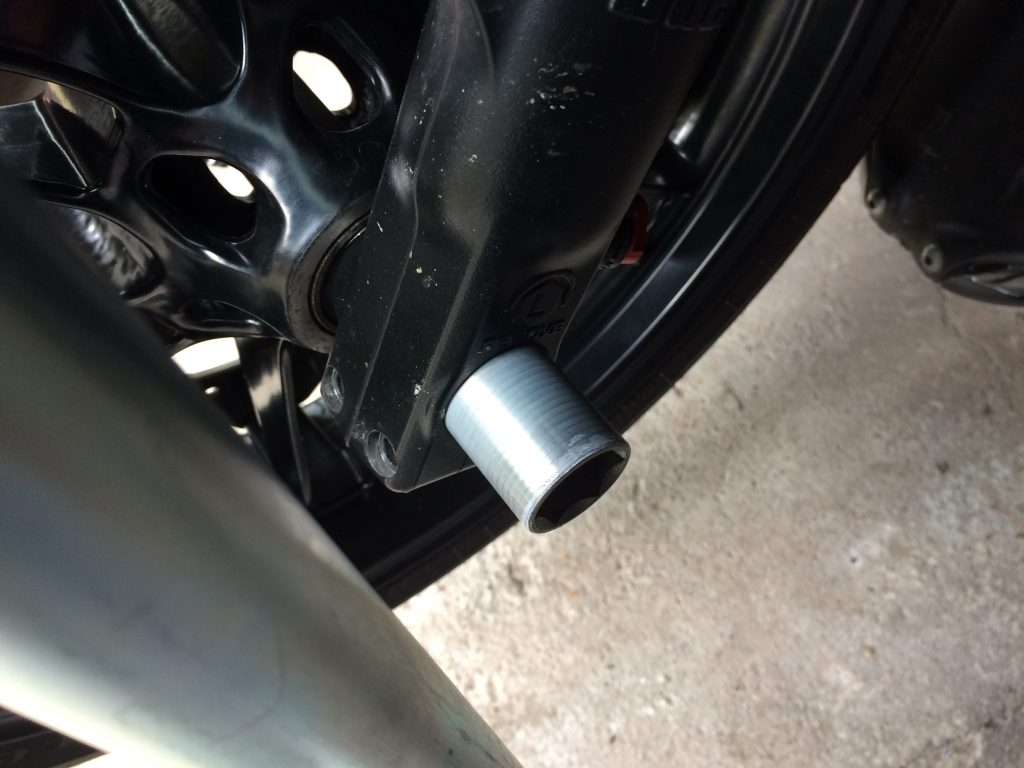
When you pull out the axis you must support the front wheel by hand. To take off the front wheel you spin it backwards and ease out the break caliper from the rotor.
STEP 6
Secure the break caliper, so the brakeline is unloaded.
STEP 7
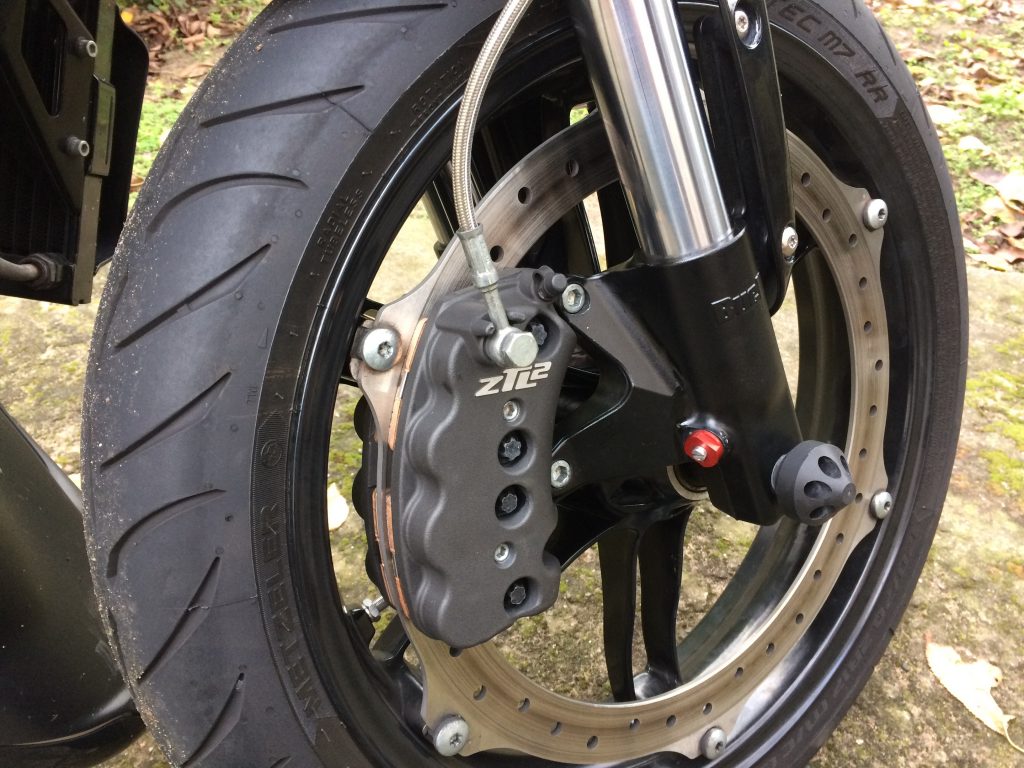
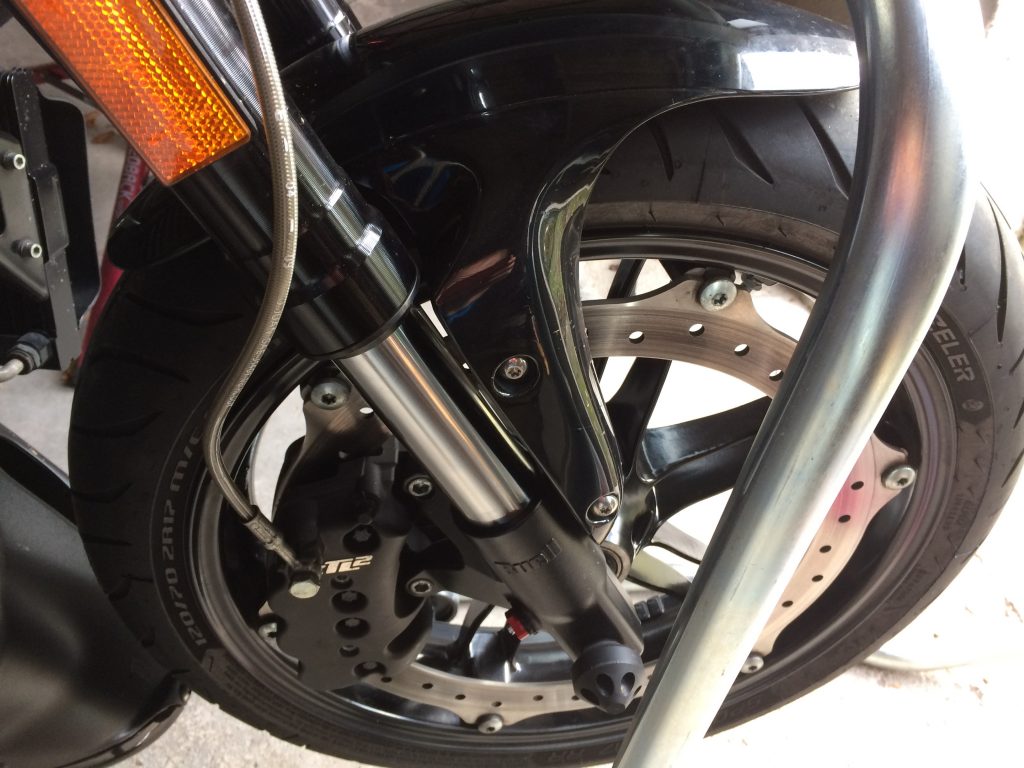
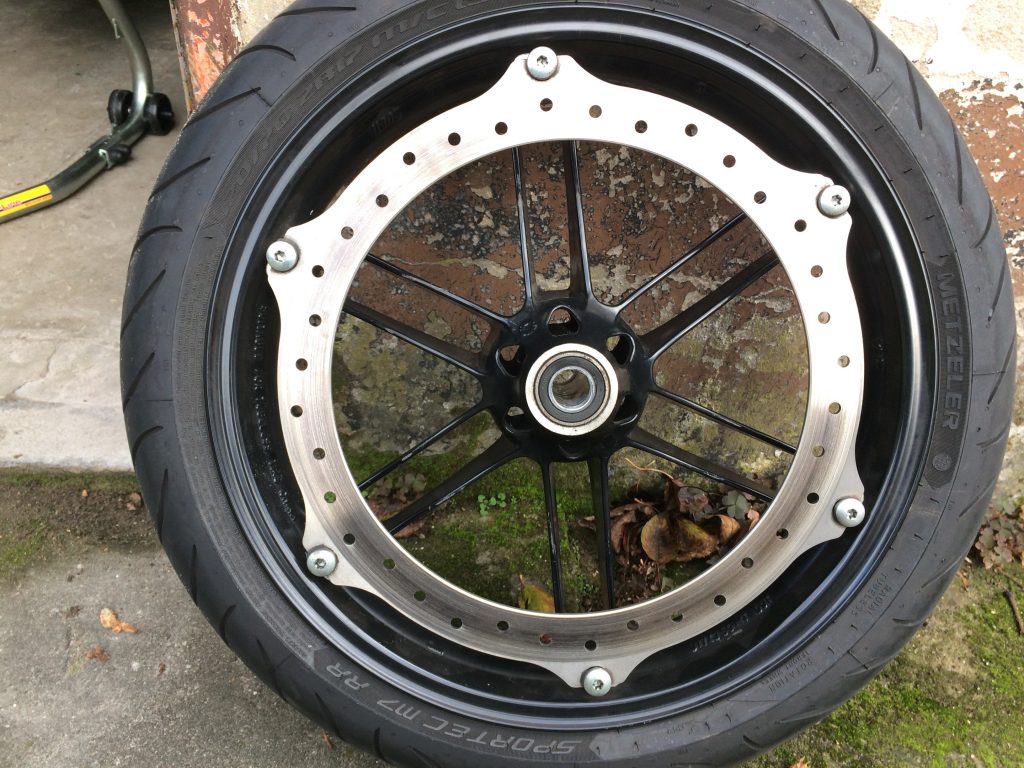
Now the front wheel is off it is possible to take a look at the connection between rotor and floaters. There must be a little play when you move the rotor, otherwise the floaters are jammed and must be replaced. Same in the other direction – it must be possible to push the rotor against the rim.
Everything looks perfect on mine, also the front rotor. Therefor this post is called “Front Brakepads” =)
Note: If you want zu check the floaters 100% you must unscrew the rotor and take a look at them!
STEP 8
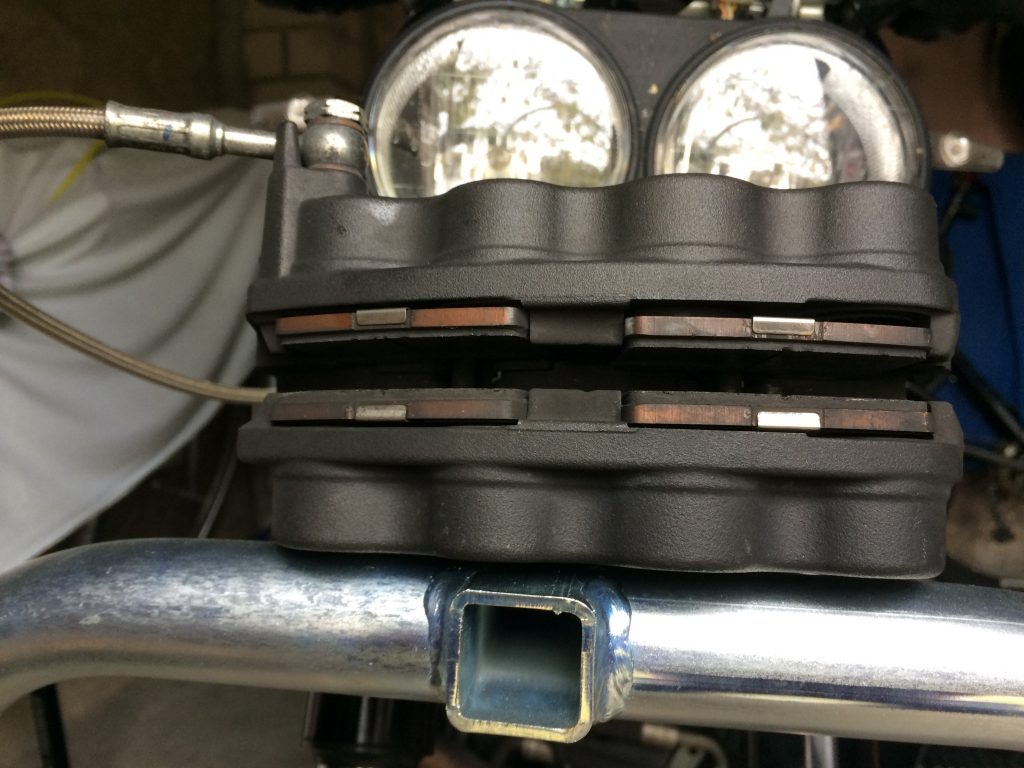
Back to the break caliper – with a screwdriver is is possible to push back the pistons to disassemble the brakepads. The pin hanger set is released by a 5 HEX (two screws).
STEP 9
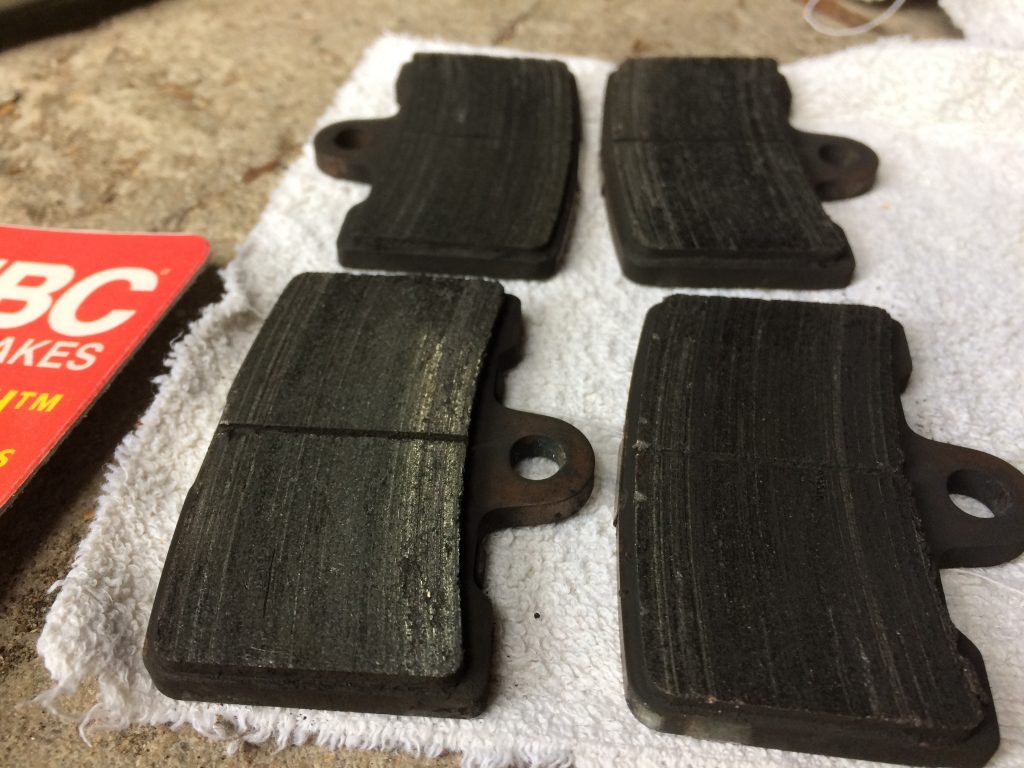
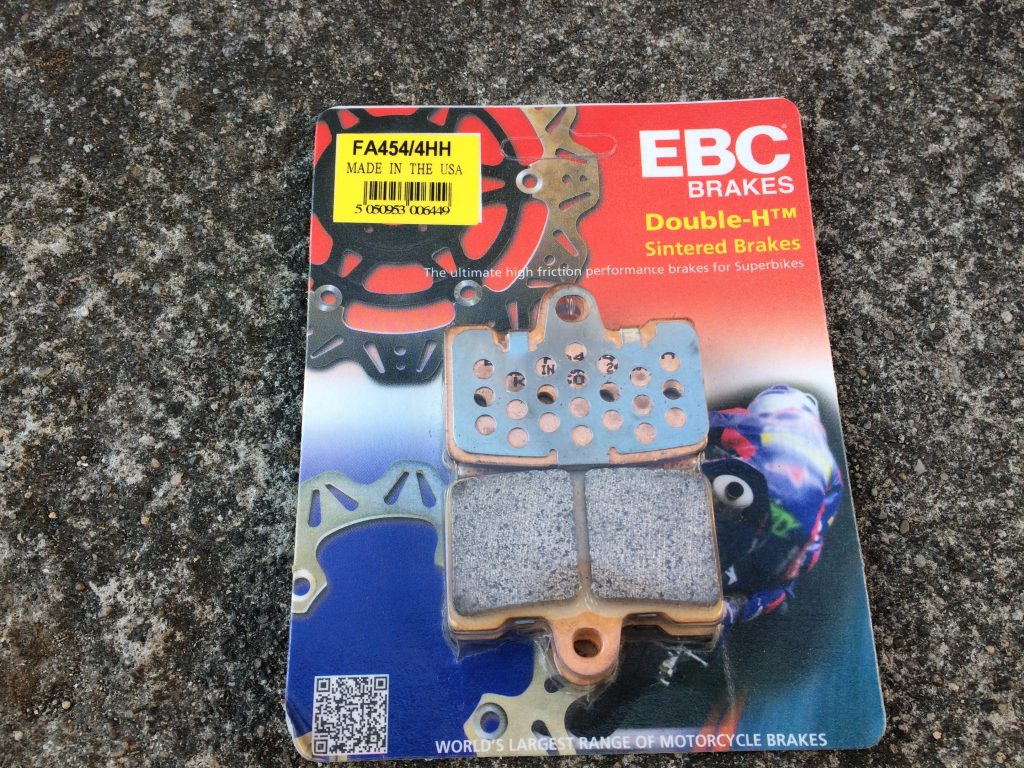
Replace the brakepads with a set of new ones – I changed the organic OEM parts to EBC Double H sinter ones. Install the pin hanger set and tighten it to 14,9-20,3 NM.

STEP 10
Time to put the front wheel back in. Place the wheel between the fork and slide the break caliper over the rotor. After that install the axis loose. Note: Apply new Antiseize to the axisl!
STEP 11
Apply Loctite 243 BLUE to the fasteners of the break caliper and install it loose. Note: The official HD-Manual dictate 271 RED!
STEP 12
Tighten the axis to 52,9-55,6 NM and lock it with the two axis pinch fasteners 27,1-29,8 NM.
STEP 13
Tighten the break caliper mounting fasteners to 47,5-50,2 NM
STEP 14
Close the breake fluid reservoir and install the fender. And your done.