Now it is time to remove the sprocket. Just follow the rear wheel removal guide to arrive at this point.
Related posts:
These are the Tools:
- 3/16 HEX
- 1 7/8 NUT
- sprocket locking tool
- soldering/welding lamp
Terms and conditions: All work at own risk, NO warranty in ANY case of damage!
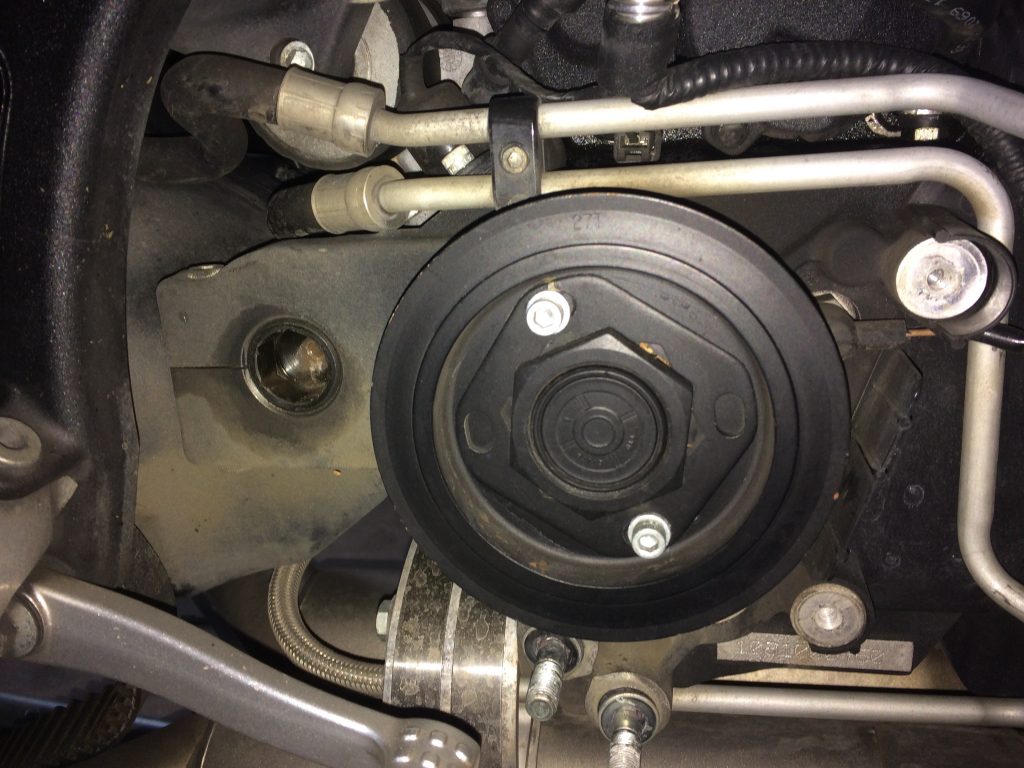
Step 1
First of all is to unscrew the sprocket locking plate with the 3/16 HEX. For this install the locking tool for right hand threaded screws (upper side) and disassemble the plate.
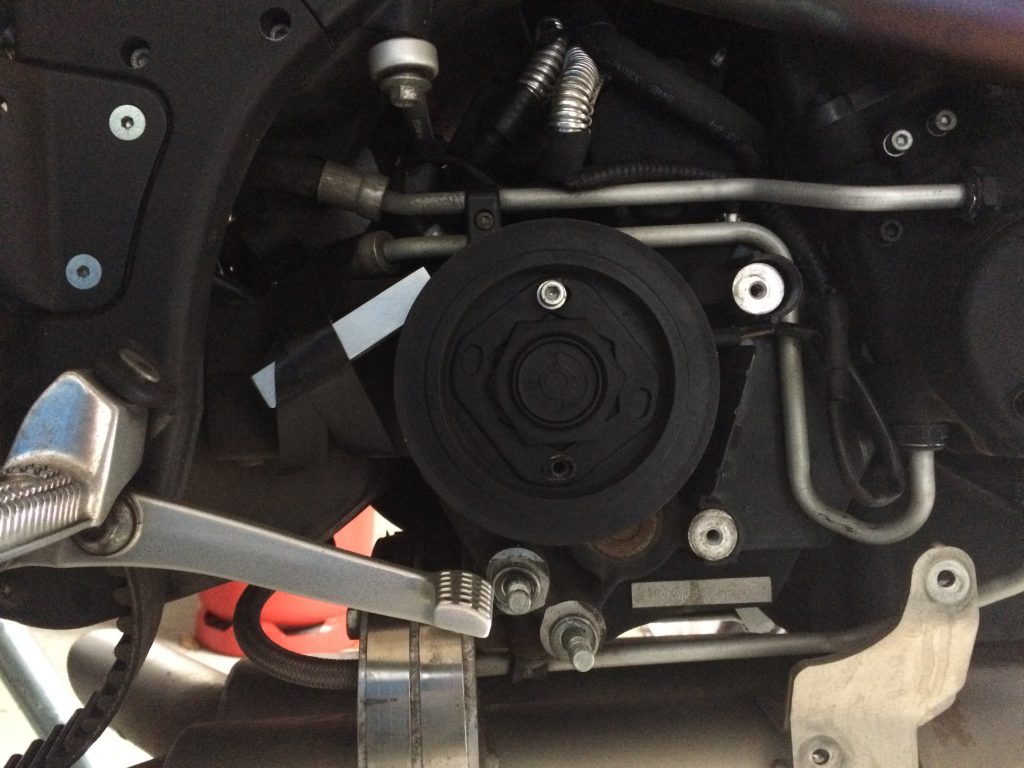
Step 2
The 1 7/8 sprocket nut is a left hand threaded so the locking tool must be placed in the right directing (lower side).
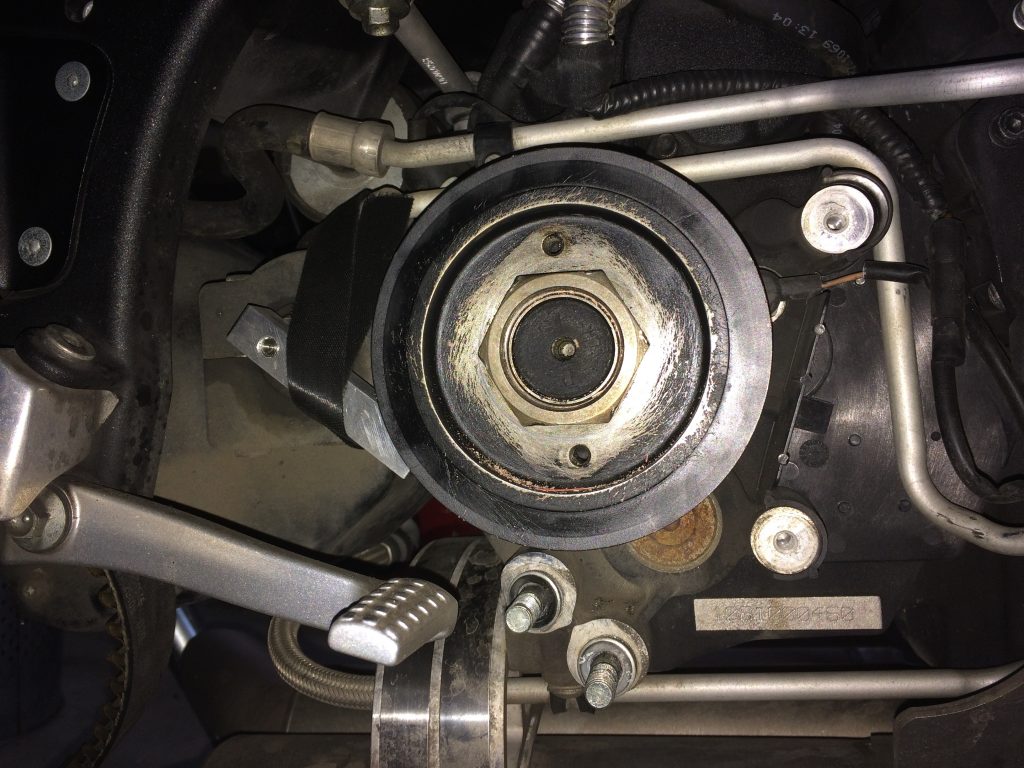
Step 3
Before it is possible to loosen the nut it must be heated. This step is necessary because it is sealed with Loctite 271 (red). So stroke the nut with the soldering/welding lamp until it reaches ~200°C. Now hit it with the 1 7/8 NUT (clockwise) and your done.
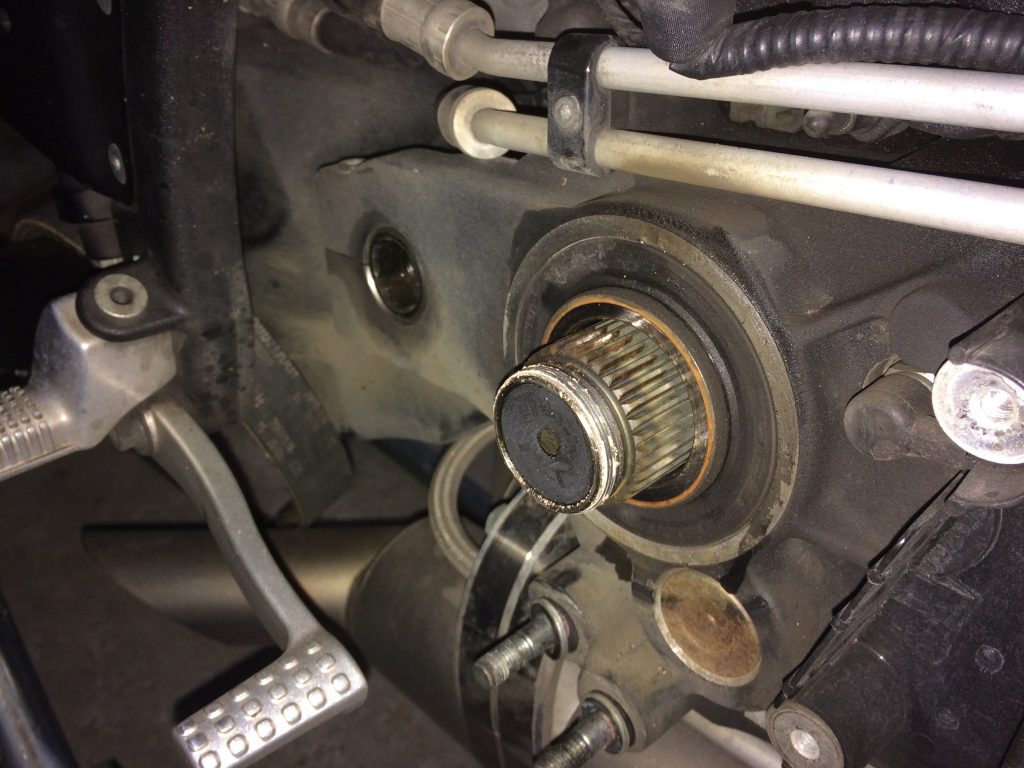
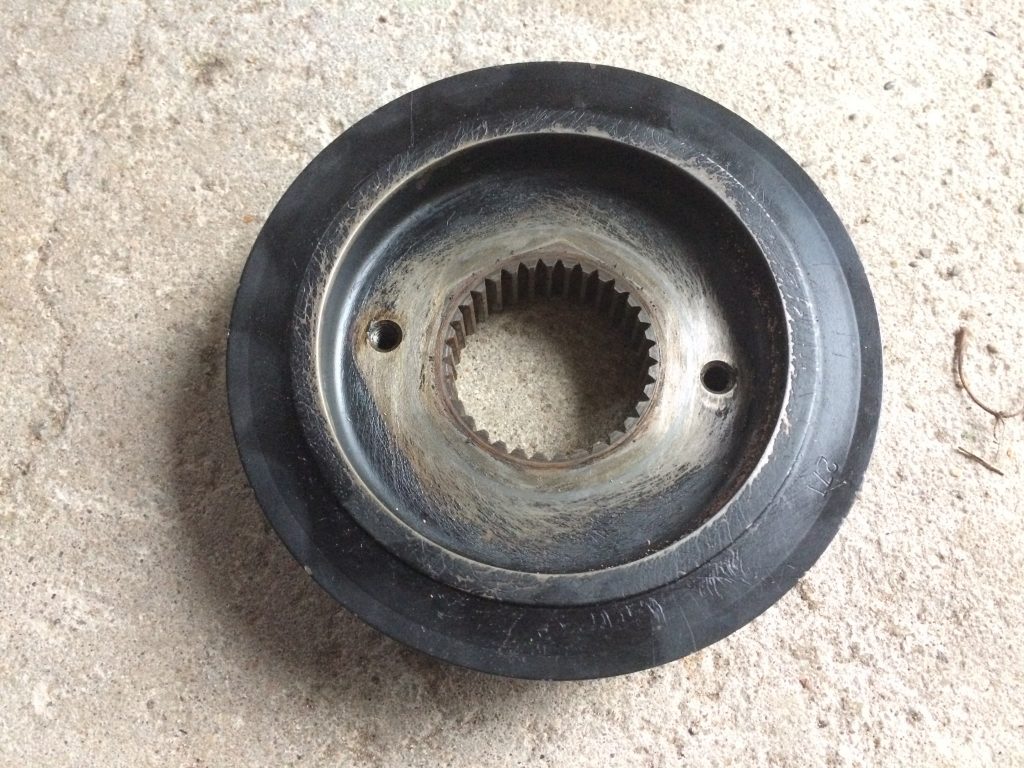
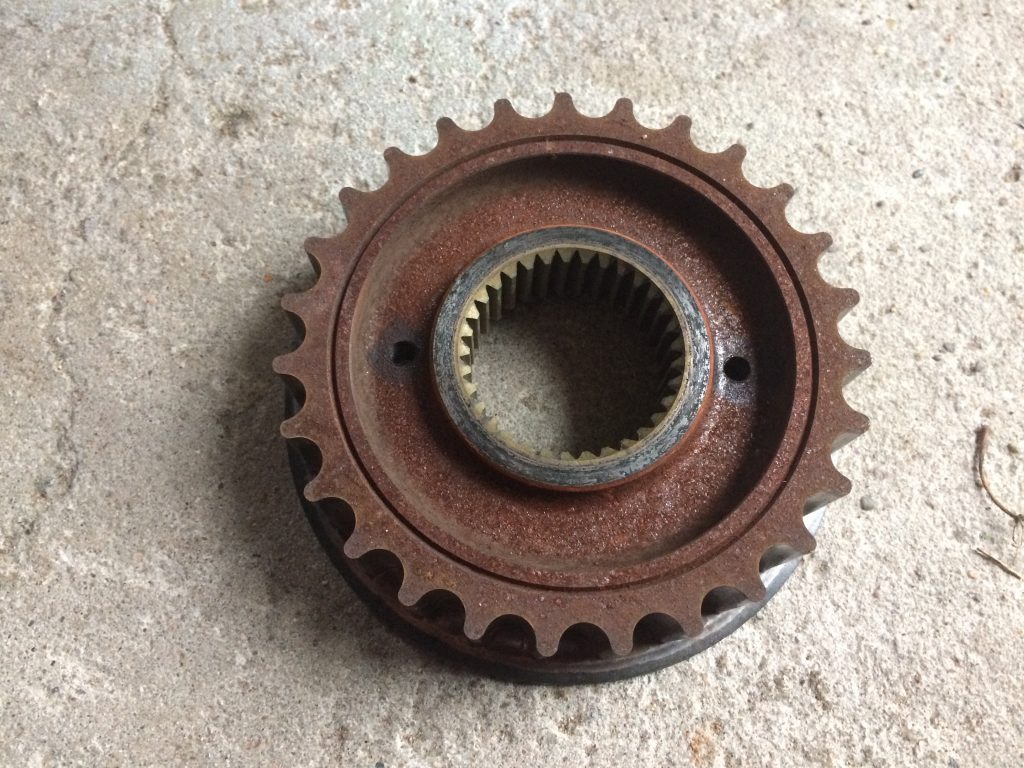
Next is to CNC the sprocket und pulley.