This is the first part of a modification how-to I’m into, so here we go!
First of all the hardware:
– air filter cover (e.g.: http://speed-of-color.de/index.php?cat=XBLUFTFILTER&product=XBLU-004)
– XB12
Then the tools:
– TX20
– TX27
– 8 wrench (metric)
– 13 wrench (metric)
– 3/4 ratchet
– 8 nut (metric)
– 10 nut (metric)
– 13 nut (metric)
– M8 drill
– Buell key
And the terms and conditions: All work at own risk, NO warranty in ANY case of damage!
STEP 1
First of all dismount the seat (Key) and the airbox cover with the TX27. After that, disconnect the battery (10 nut) because electricity is in.
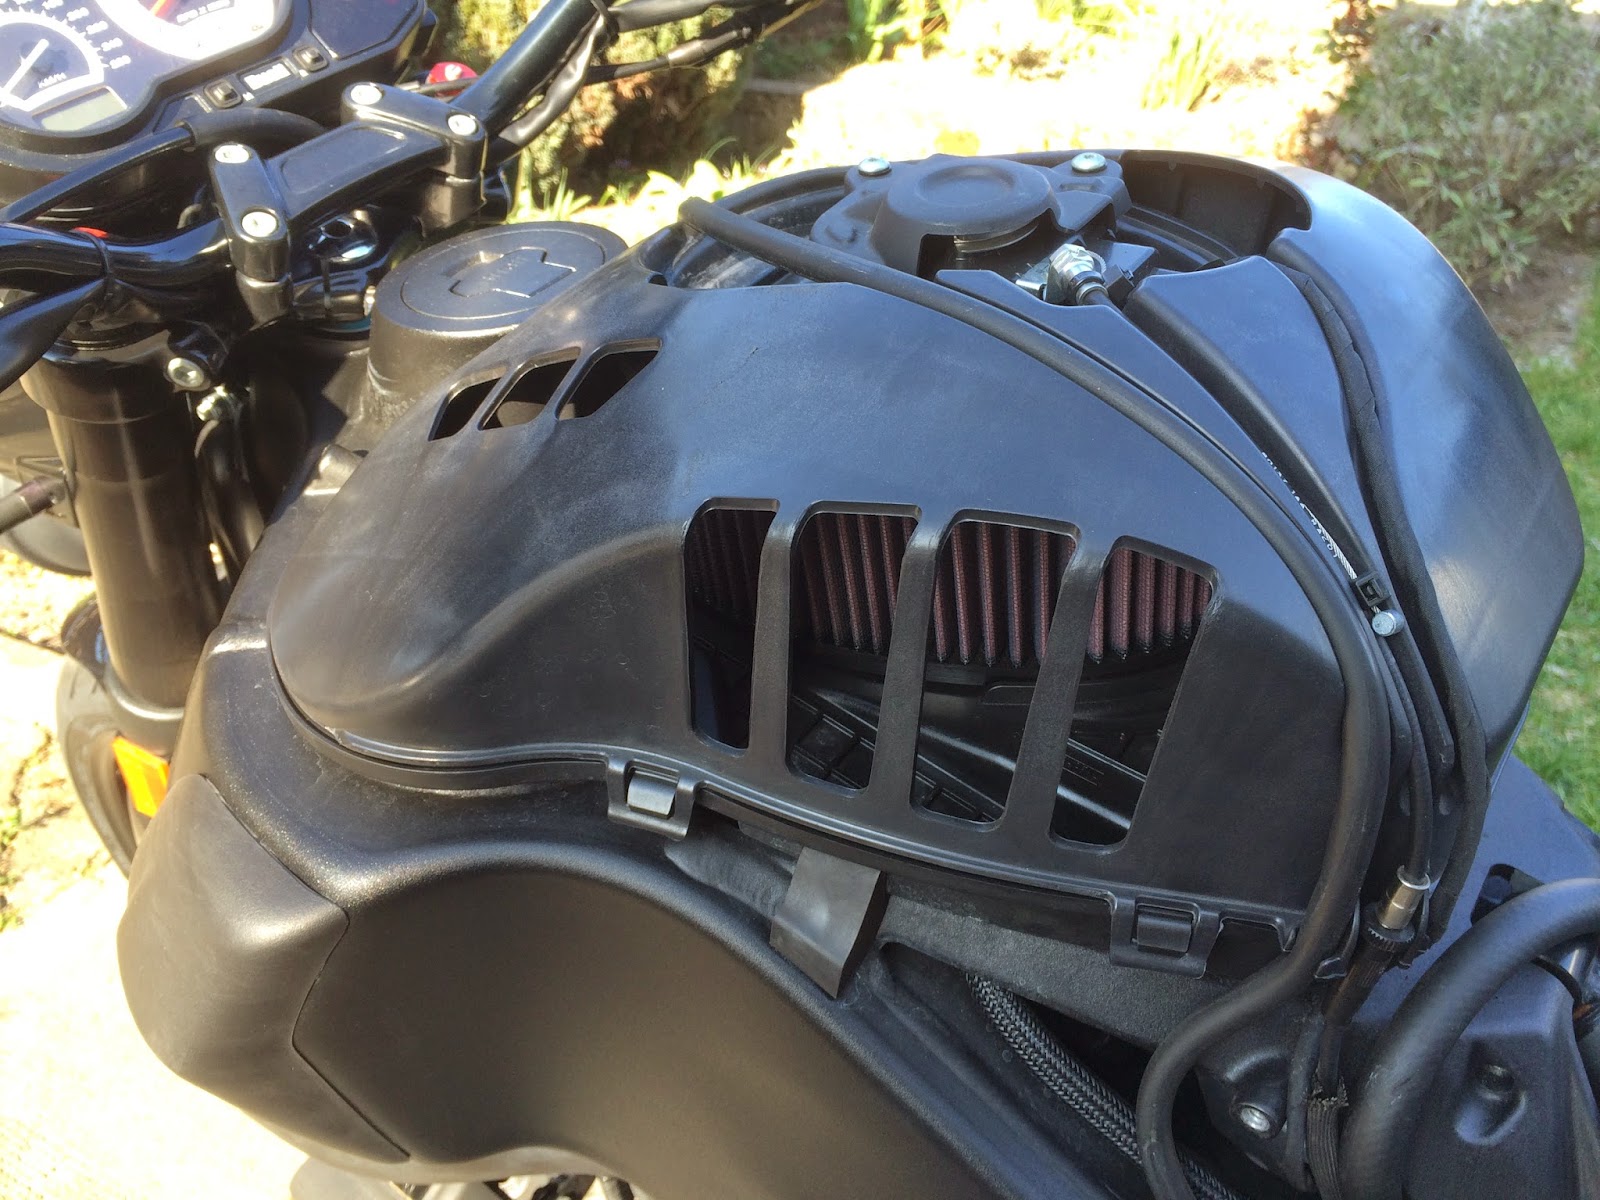
So what you can see is the original AirBox with the interactive exhaust actuator (IEA) on the top.
STEP 2
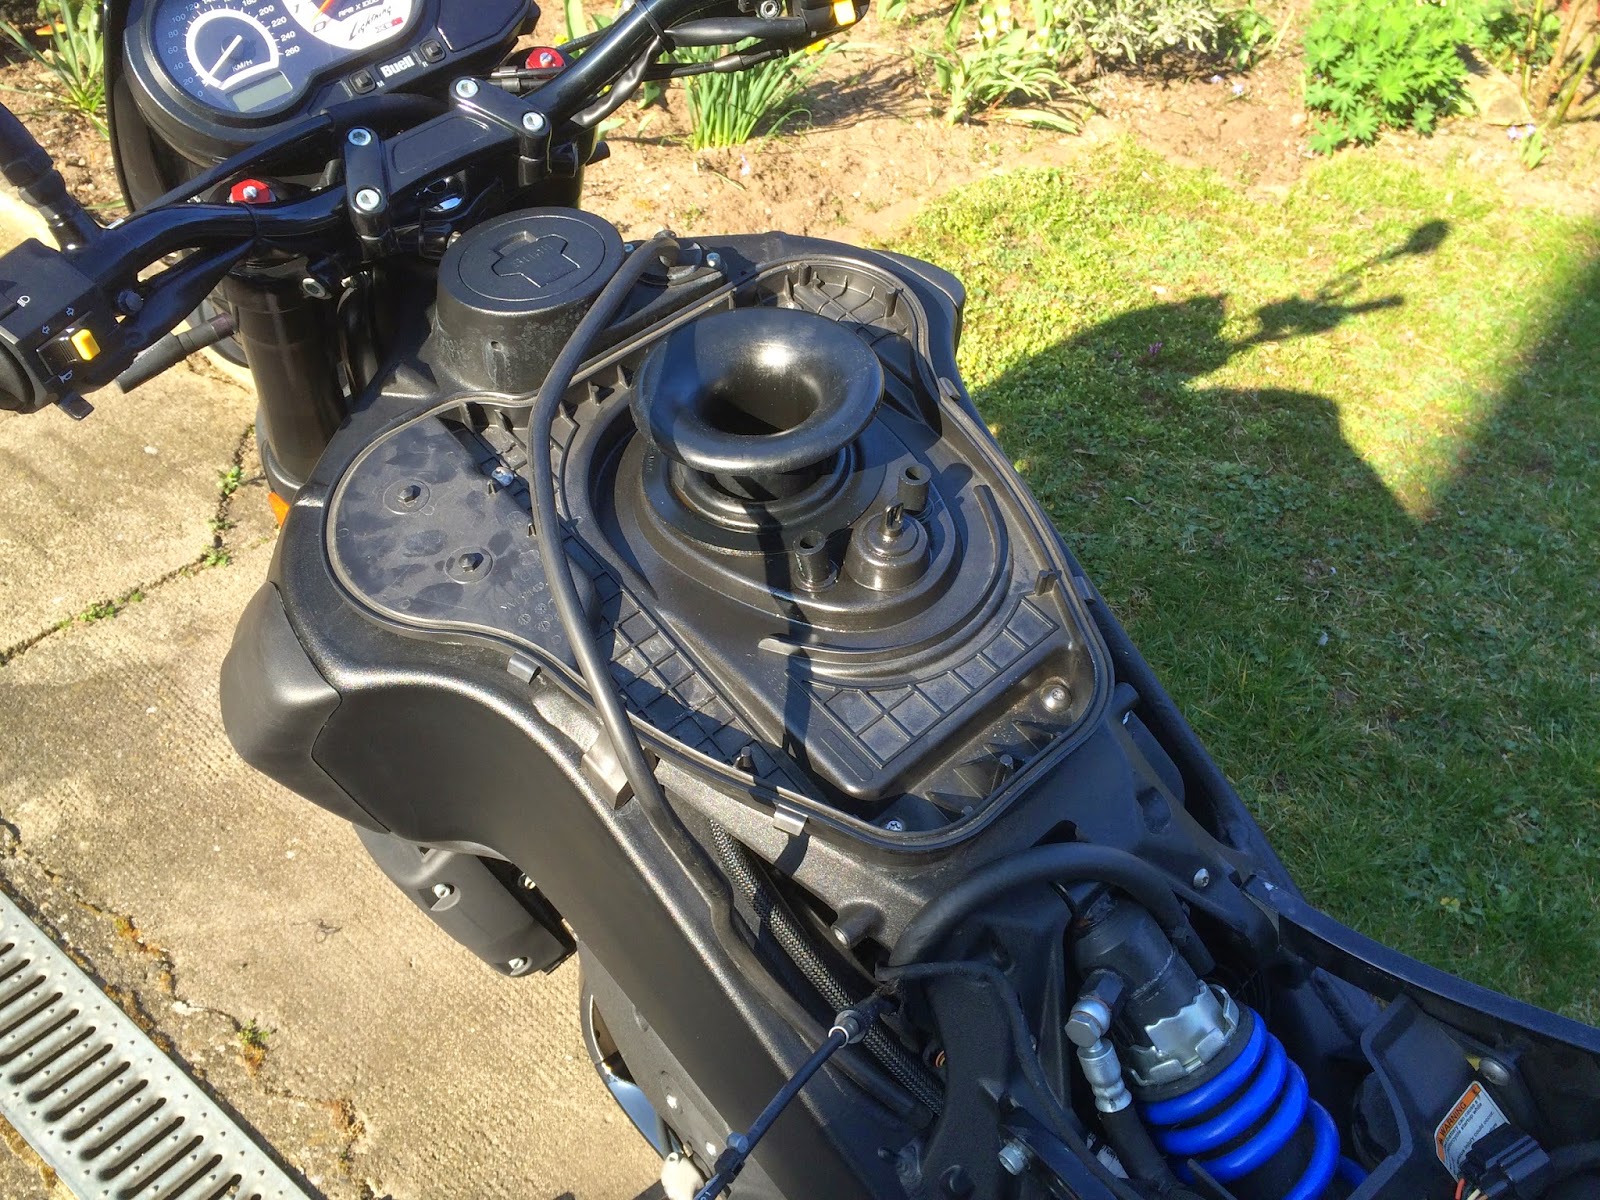
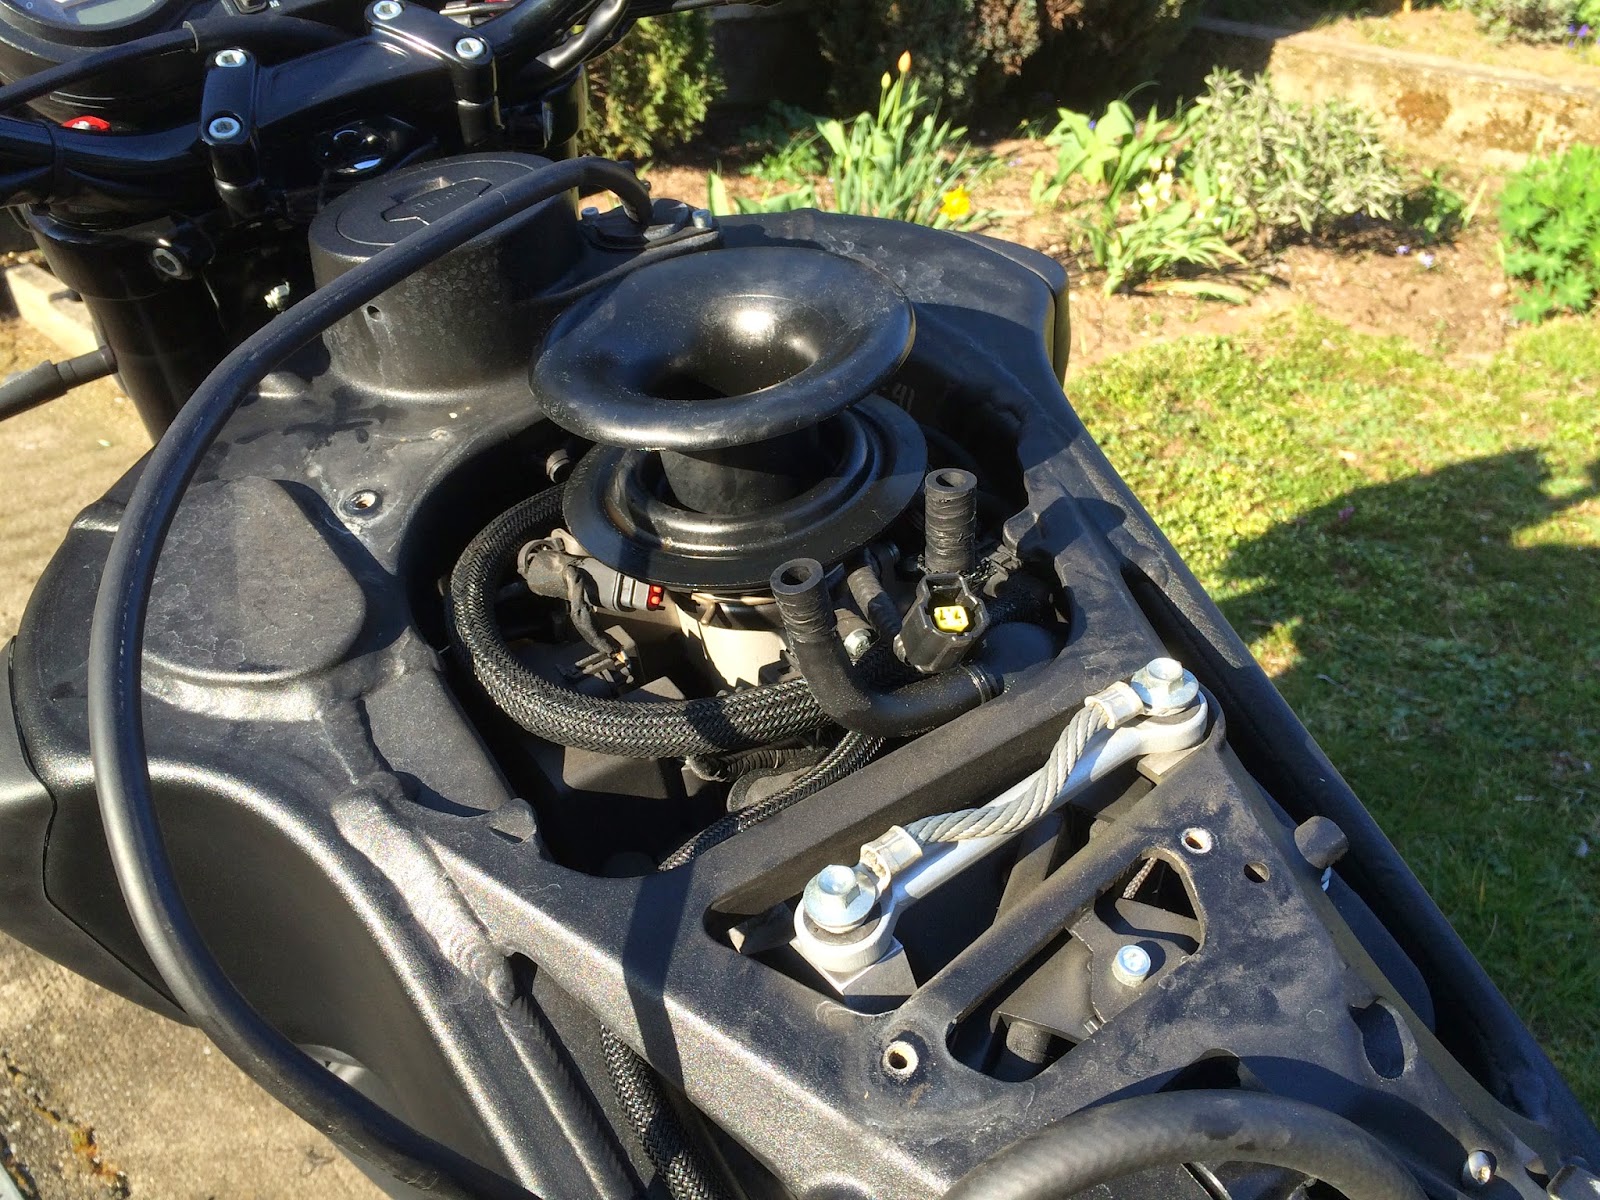
Unplug the IEA and remove the TX20s so you can it take off. Then drop the air box. Make sure nothing falls down the air intake!
STEP 3
Next is the airbase – use the TX27 for the four screws in the corners. Carefully disconnect the air-intake sensor on the backside of the base and pull back the two air vents. Then slowly drop the base plate (be careful with the intake sealing).
STEP 4
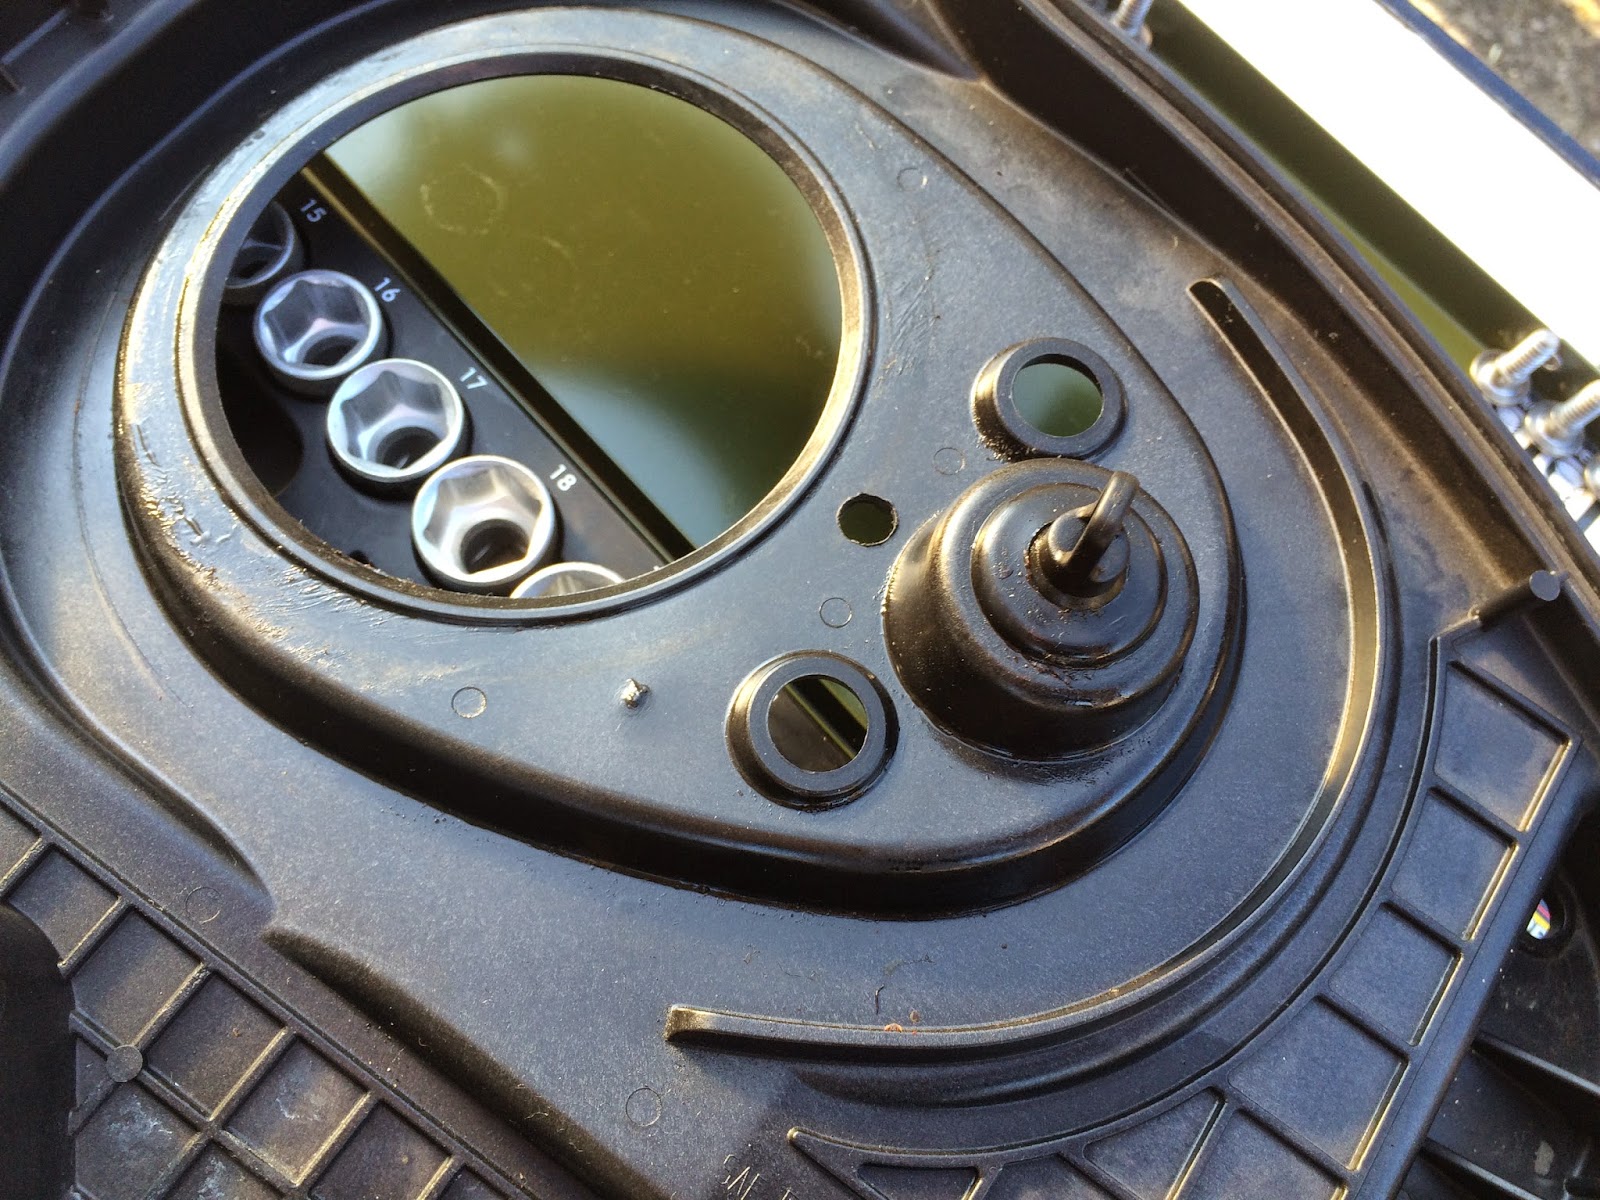
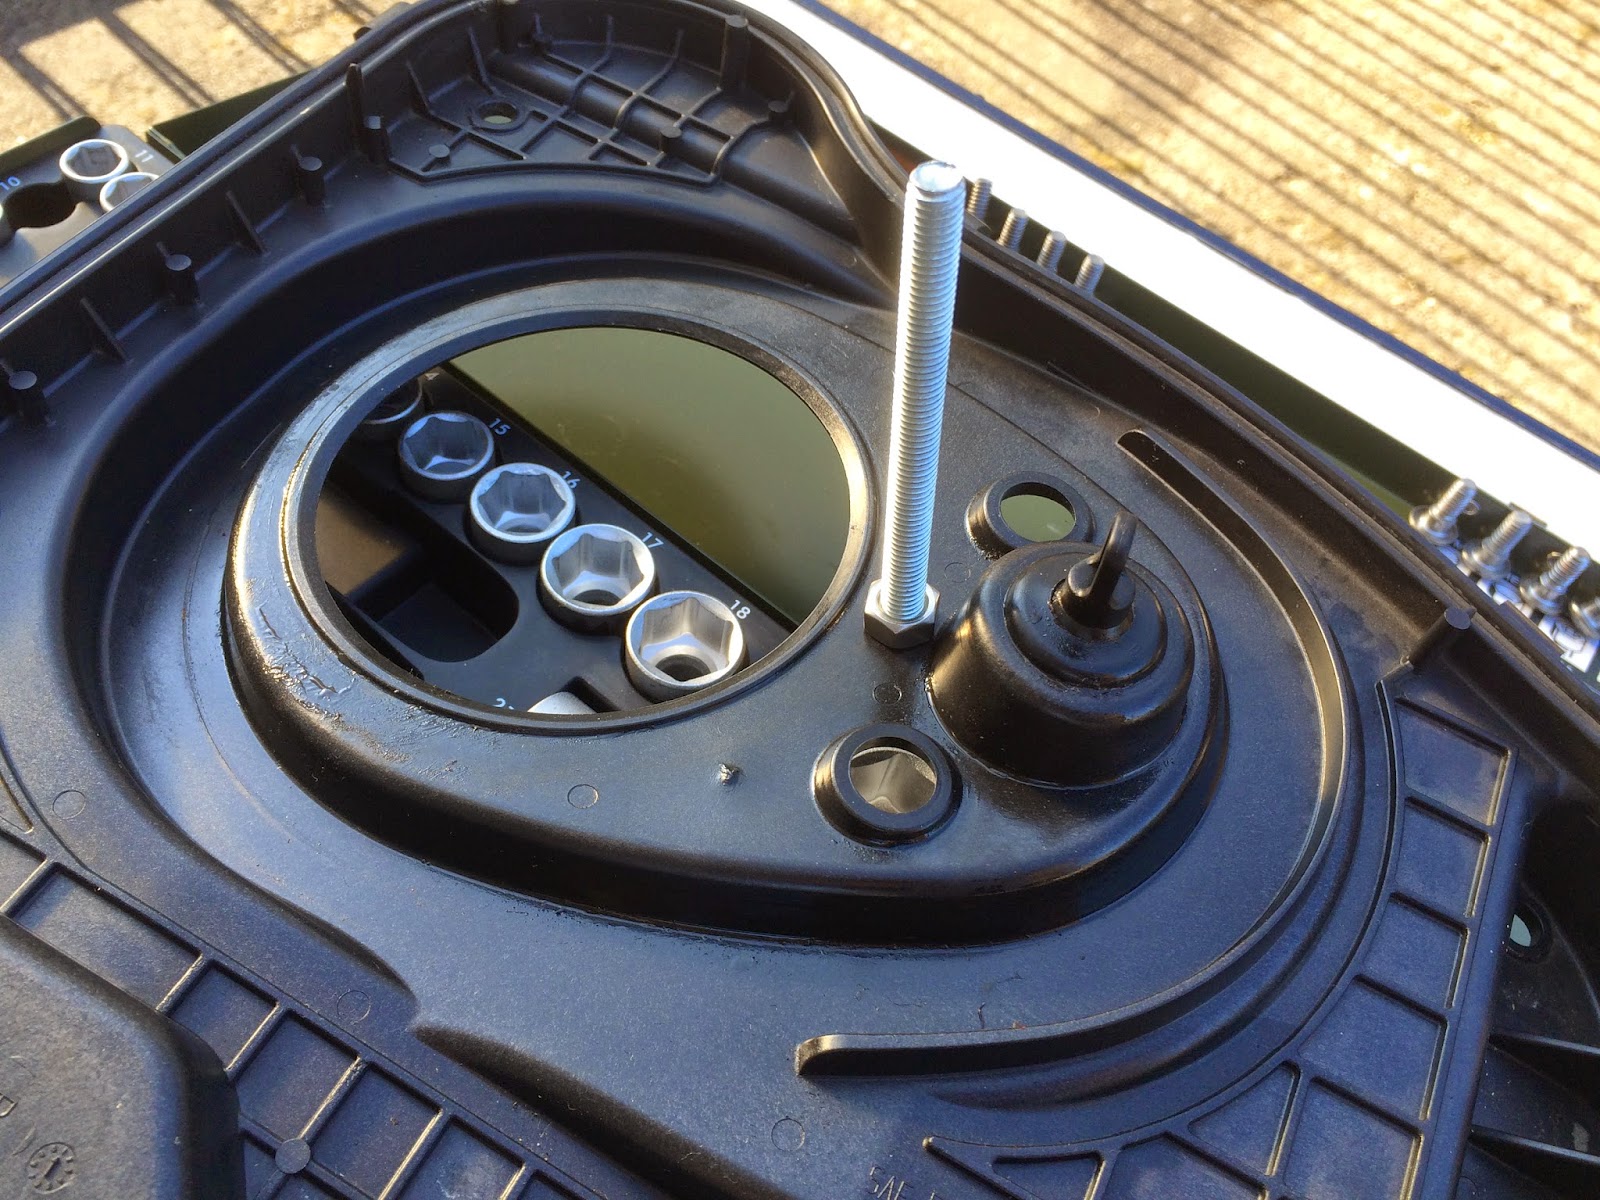
If everything is dismounted we need the center for the new thread to mount the new air cover.
Drill a hole for a M8 and tighten the thread-bar (13 hex+nut).
STEP 5
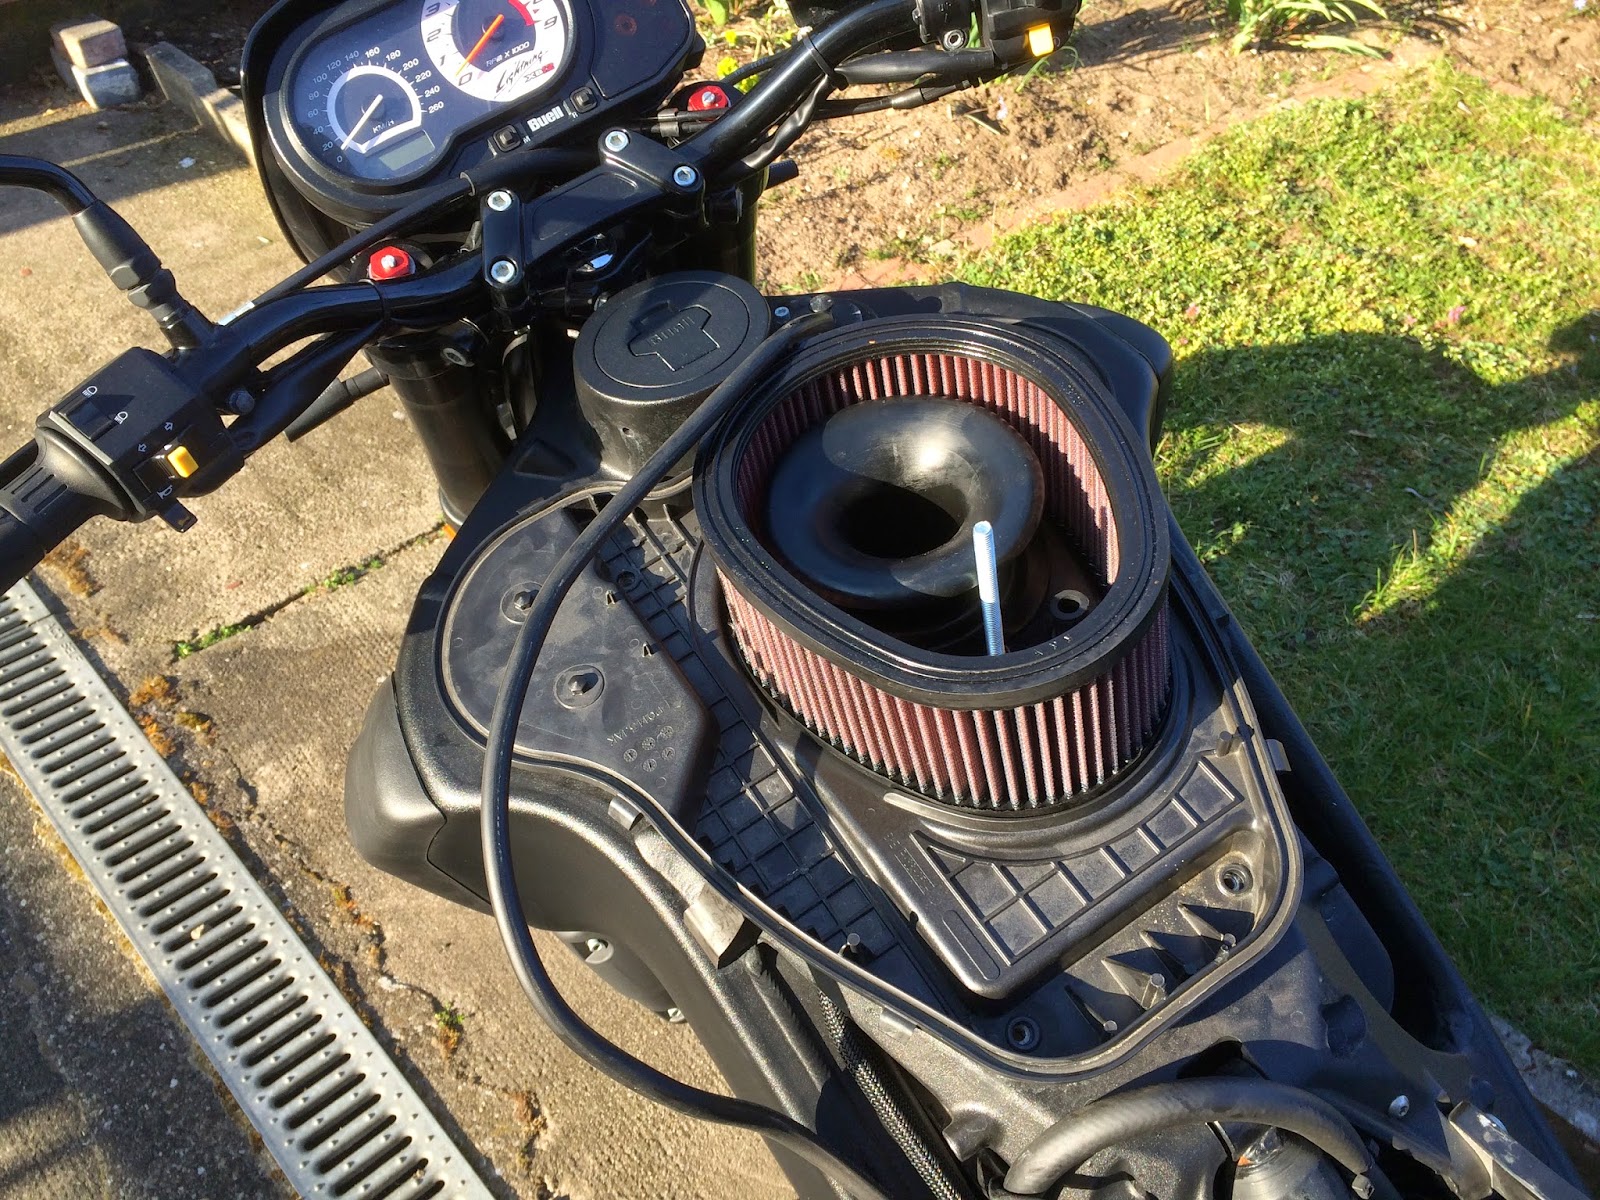
After that resemble the base and put the k&n back on.
Make sure the air-intake sensor is connected and the base plate is among the intake sealing groove!
STEP 6
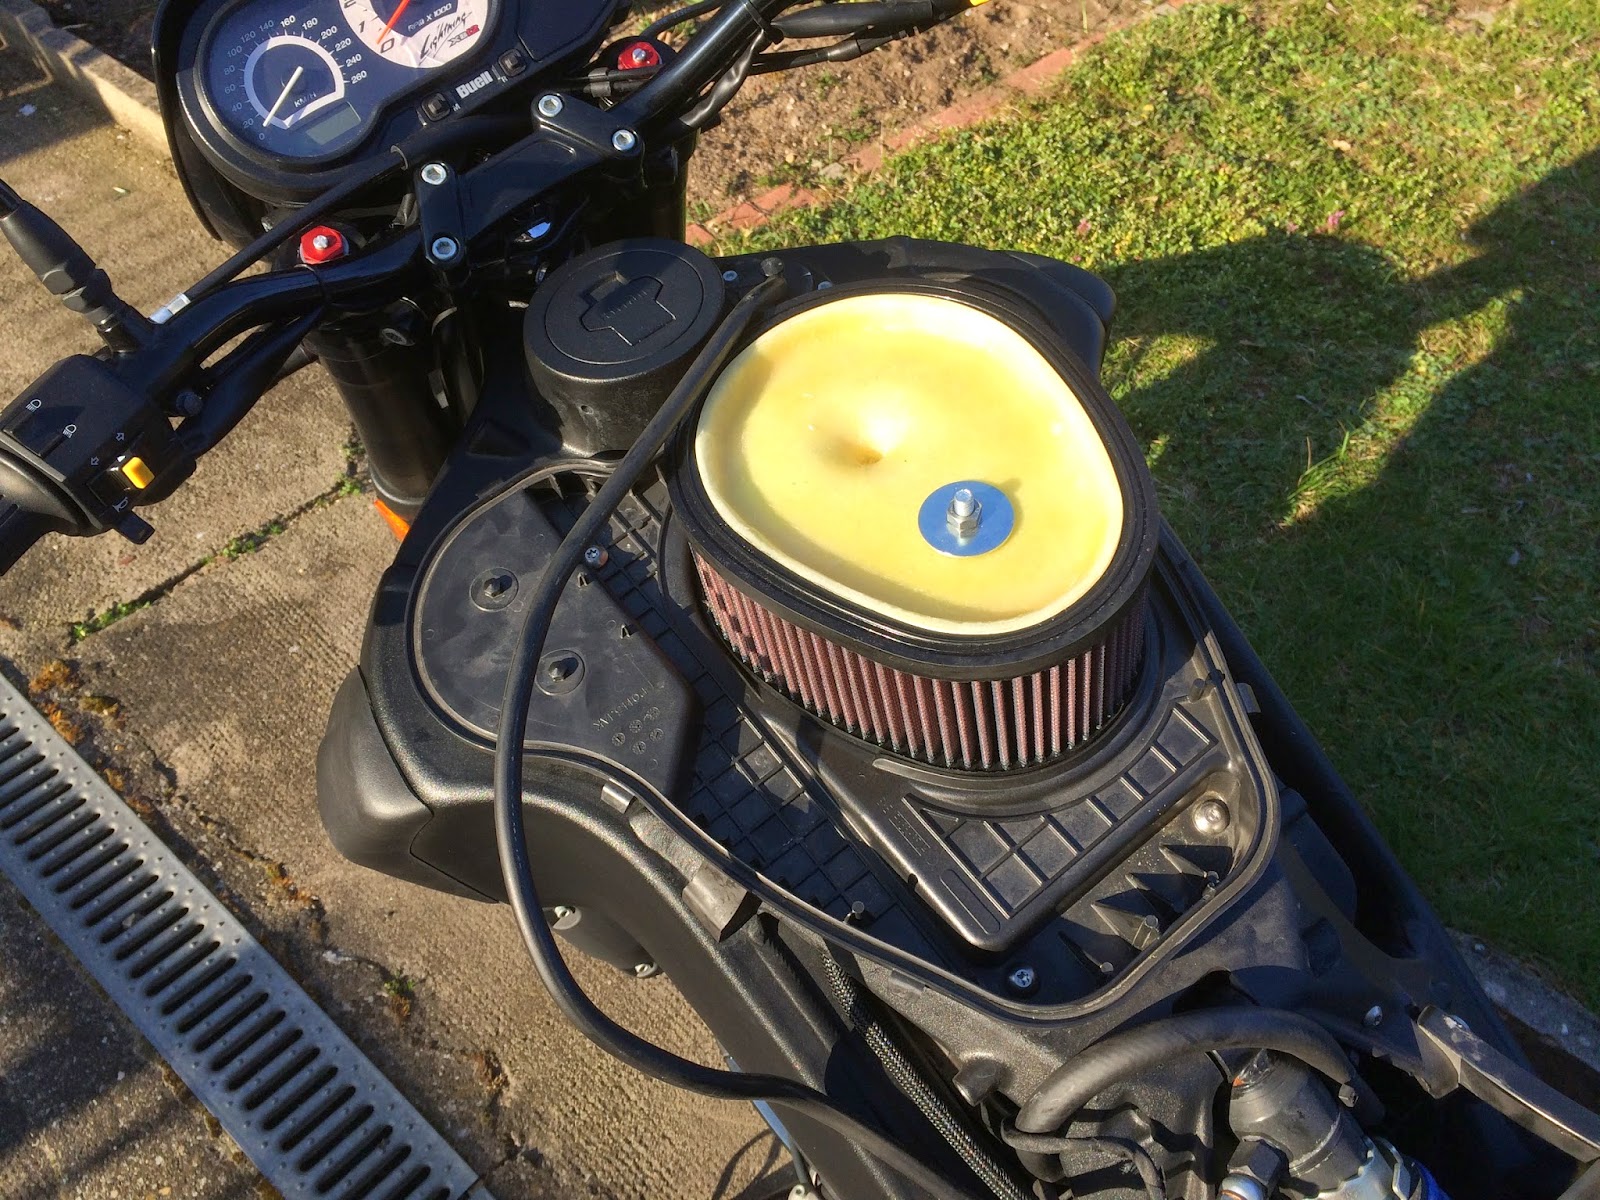
At the end mount the new air intake cover a bit more than hand-tight (13 nut) and it is done.
STEP 7
Next is the mounting plate we need to craft for the interactive exhaust actuator. If you need the IEA working (enabled in the ECM), an unplugged actuator reports an error and the engine light will criticize this blame in lovely orange.
(Next Part 2/2 is for crafting the plate, coming ASAP).