Finally it’s time for reassembly – first of all the Sprocket!
Related posts:
These are the Tools:
- 1/4 HEX
- 1 7/8 NUT
- sprocket locking tool
- torque wrench
- fixed wrench
- angle protractor
- Loctite 243
- Loctite 271
Terms and conditions: All work at own risk, NO warranty in ANY case of damage!
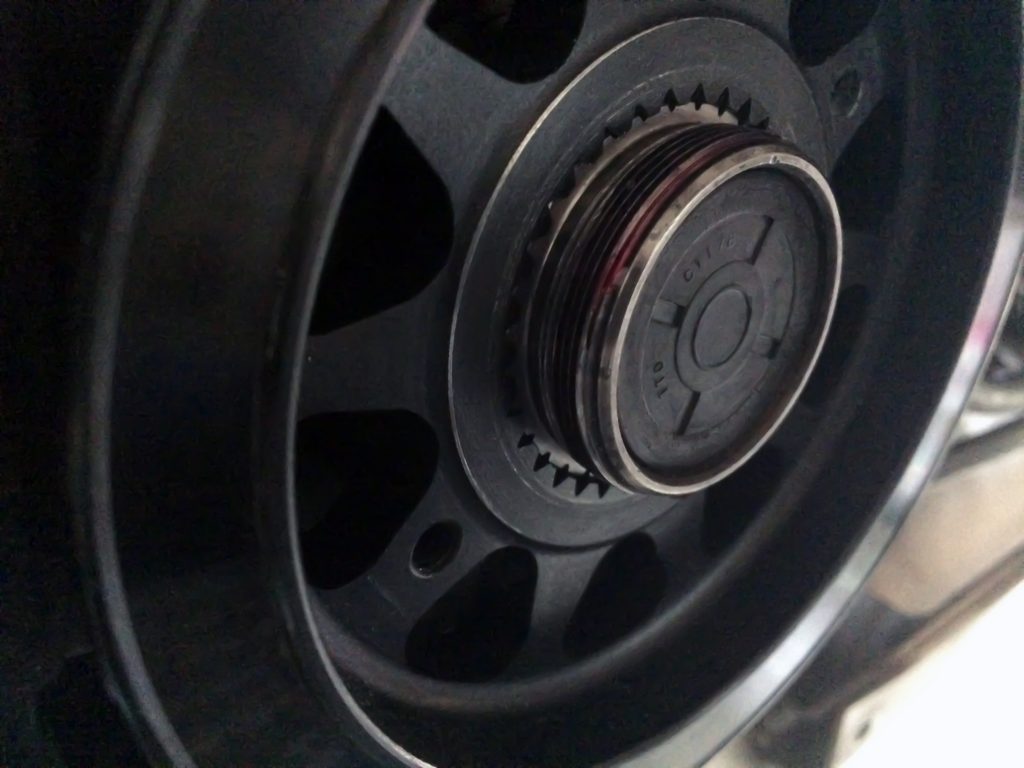
Step 1
First of all is to clean the thread, just with a brush. Then for the sprocket.
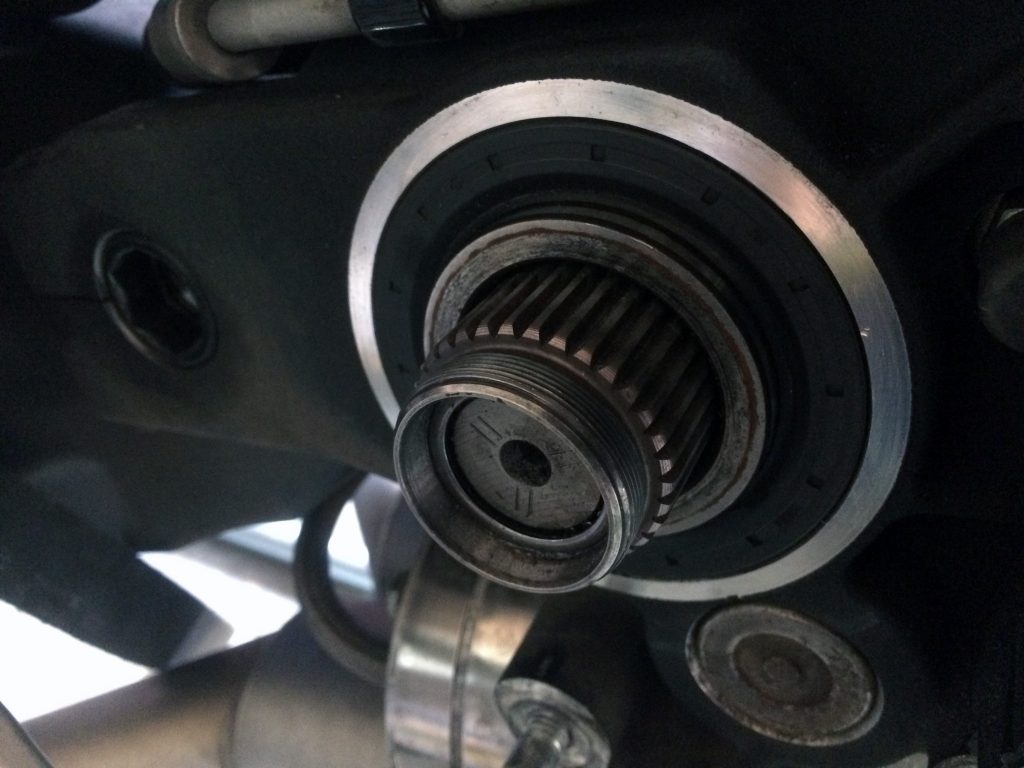
Step 2
Now you can install the locking tool for the right direction (left hand thread) and apply some Loctite 271 RED on the thread. In the same time I installed a new main shaft seal (HD 12030).
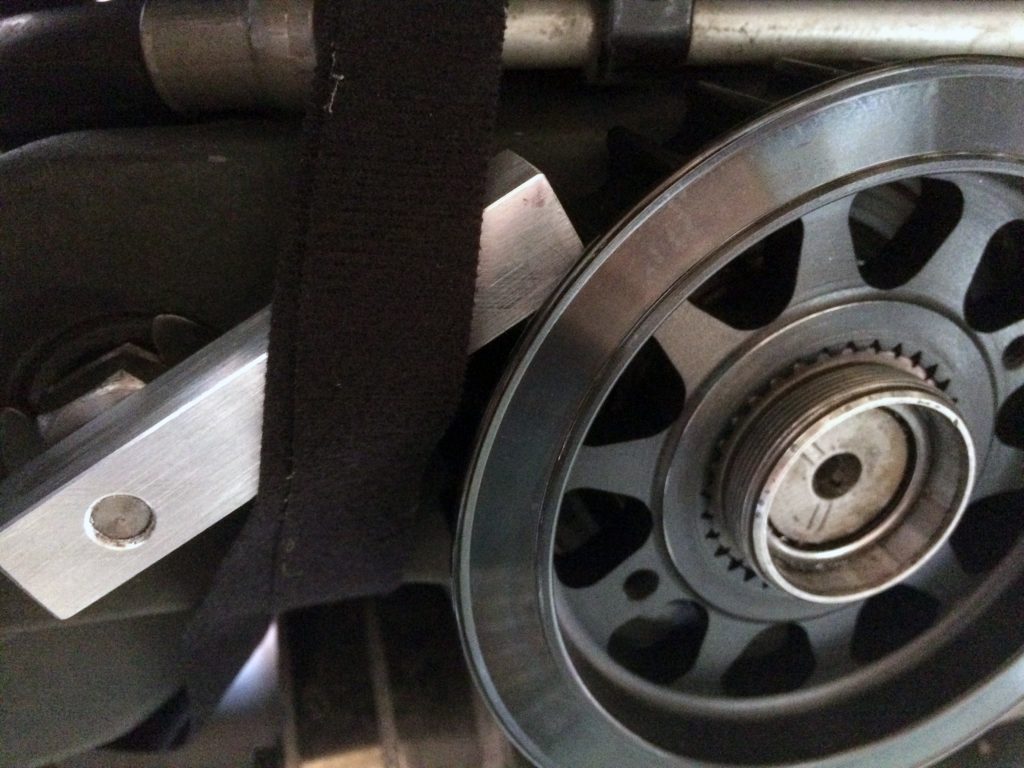
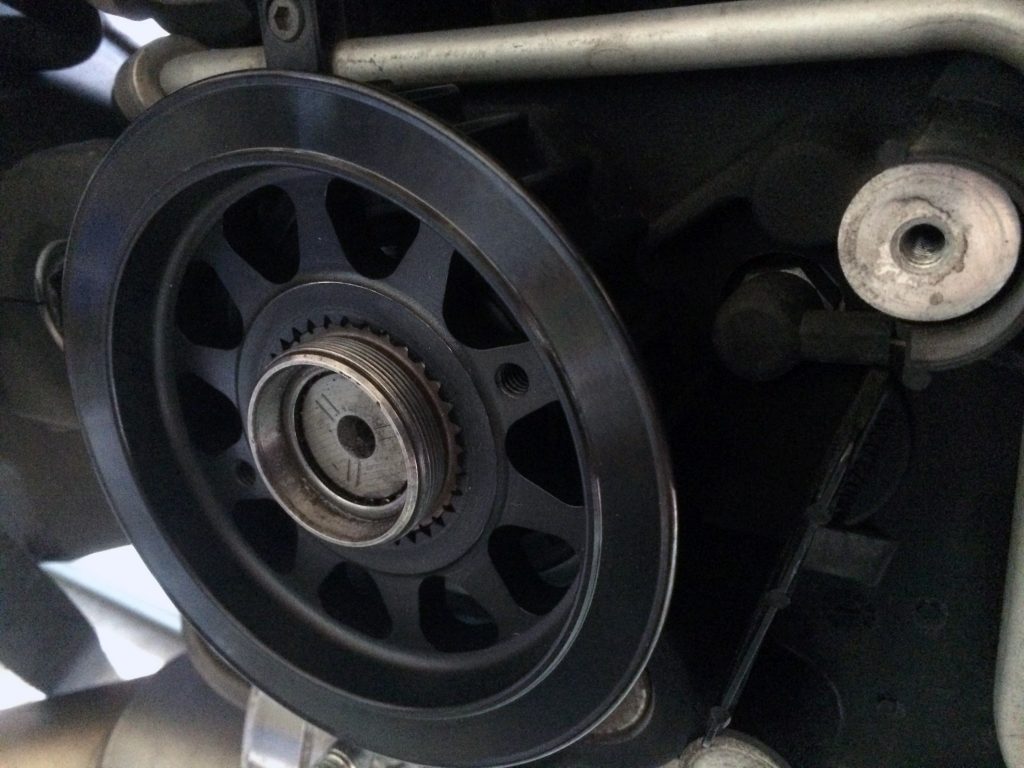
Step 3
Now set the torque wrench to left direction and do an initial 67,8NM on the 1 7/8 nut.
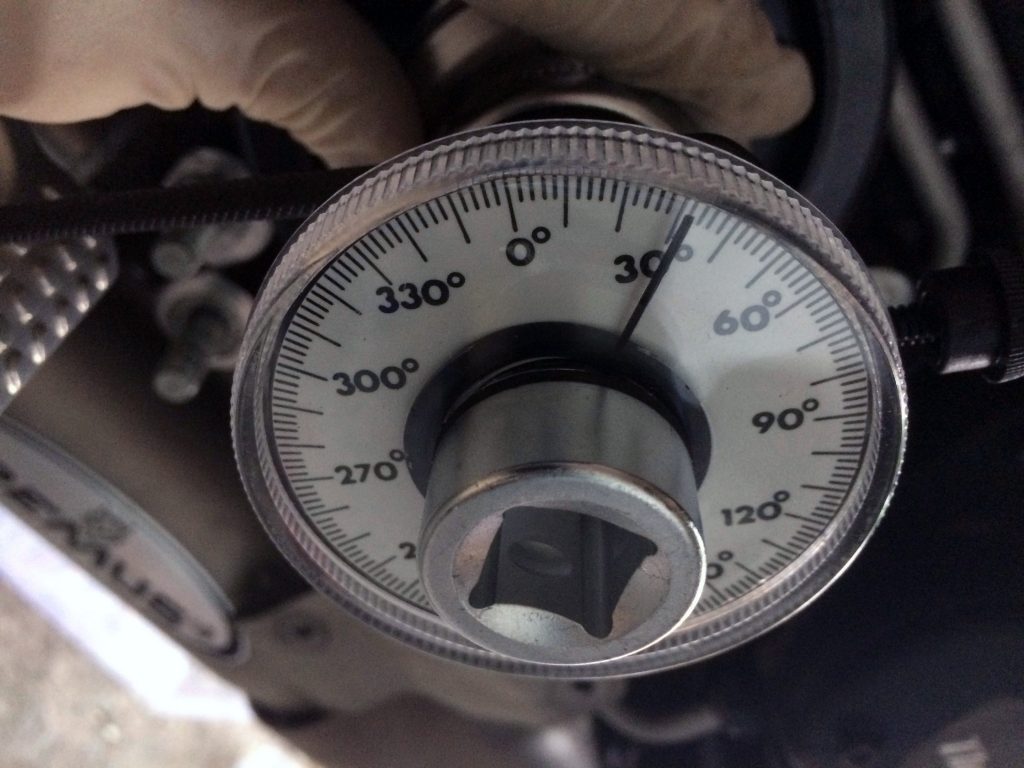
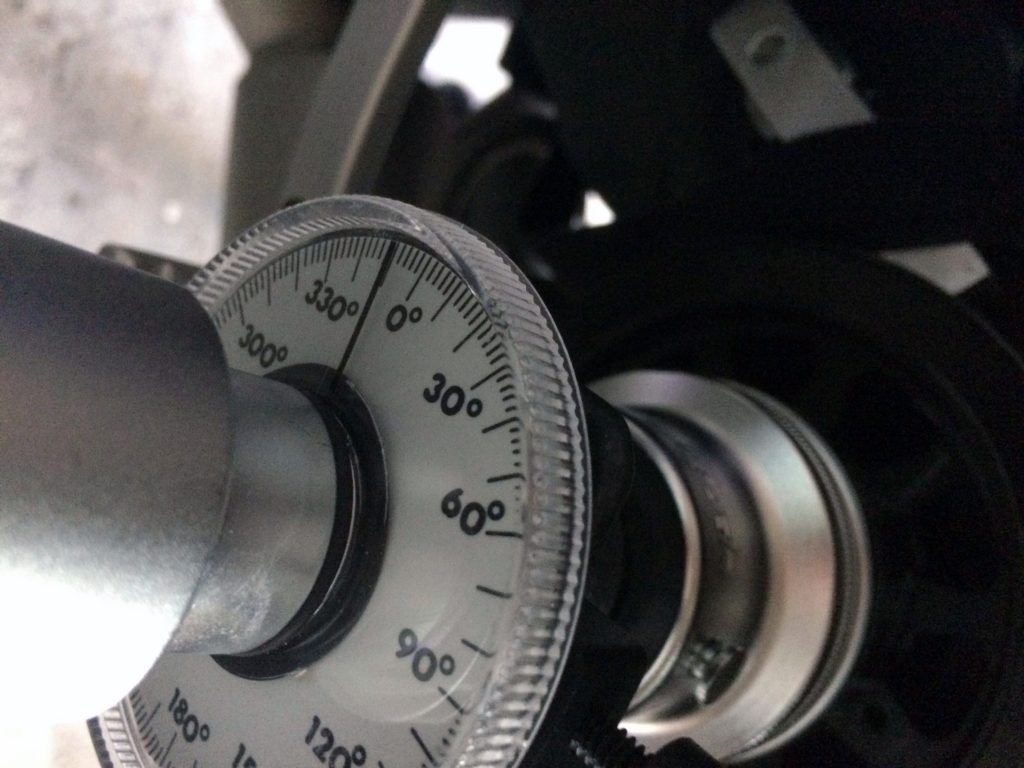
Step 4
After that change to a fixed wrench with the angle protractor installed and tighten the 1 7/8 nut counterclockwise an additional 30° – 40°. Mine is only for right handed threads so I tighten “backwards” from 30° to 350°. Note: Maximum allowable tightening is 45° counterclockwise. Never over tighten!
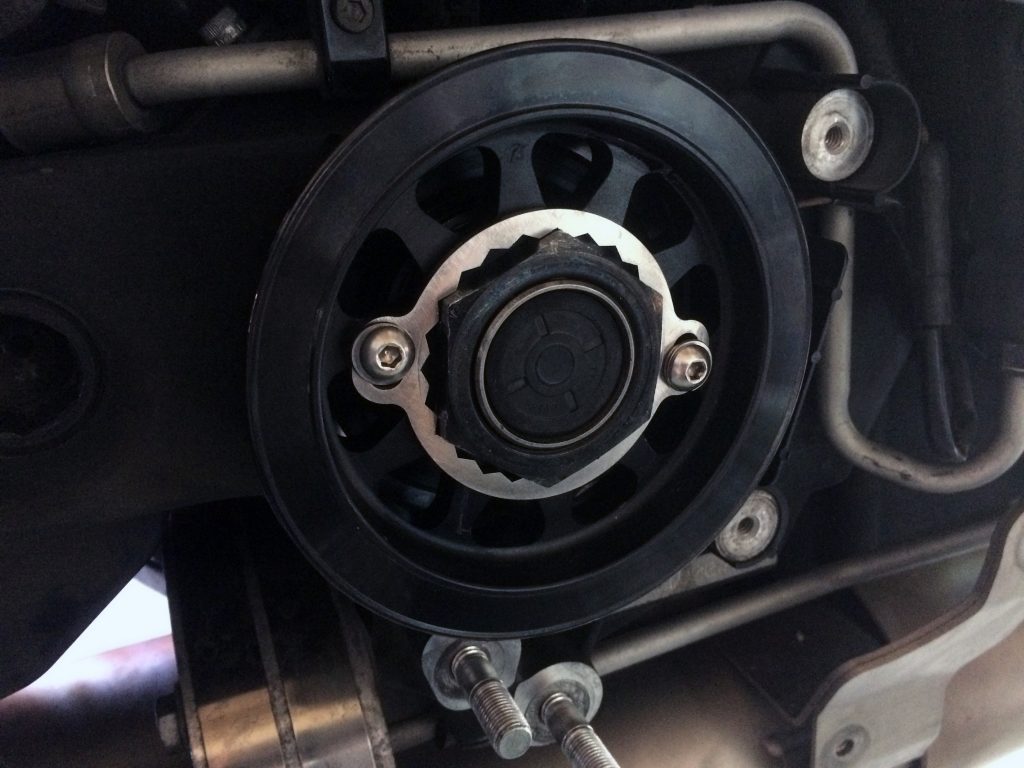
Step 5
After that act of hard work you can install the sprocket locking plate. I switched to a xborg custom in stainless steel with stainless steel screws (1/4 HEX).
Just apply some Loctite 243 on the screws and tighten them to 10,2-12,4 NM and your done.