Mandatory in the end – oil change!
These are the tools:
- 5/8 HEX
- TX 27
- torque wrench
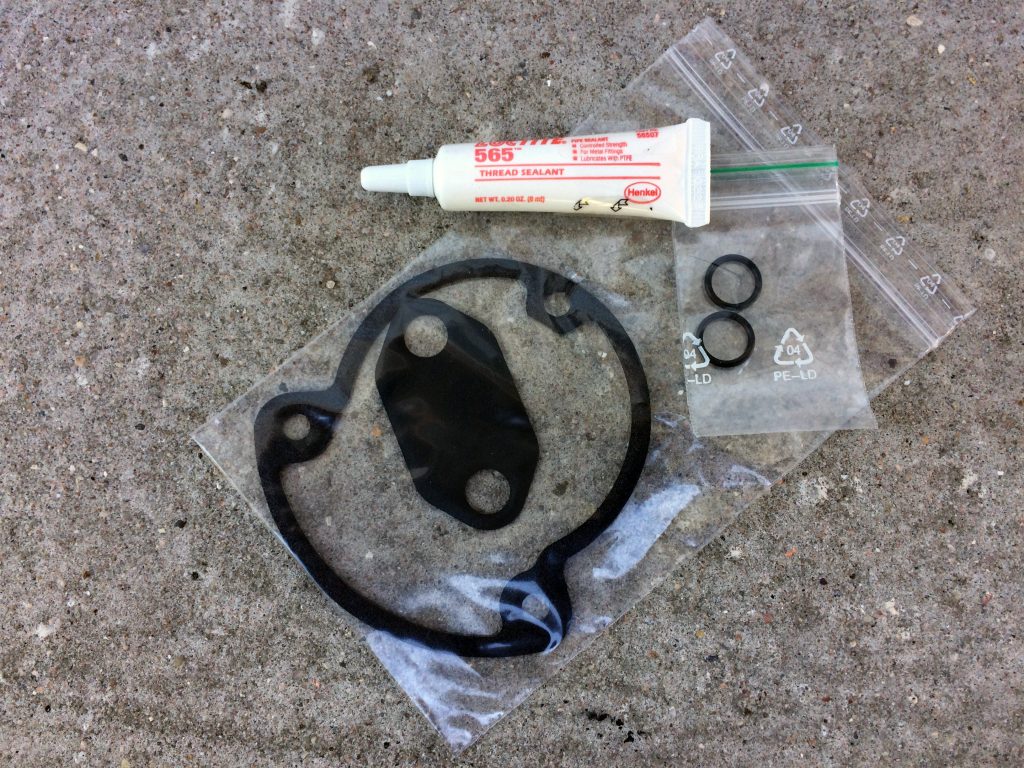
- Loctite 565
- Loctite 271
- oil pan
- aluminum foil
- oil filter claw
- measuring cup and funnel
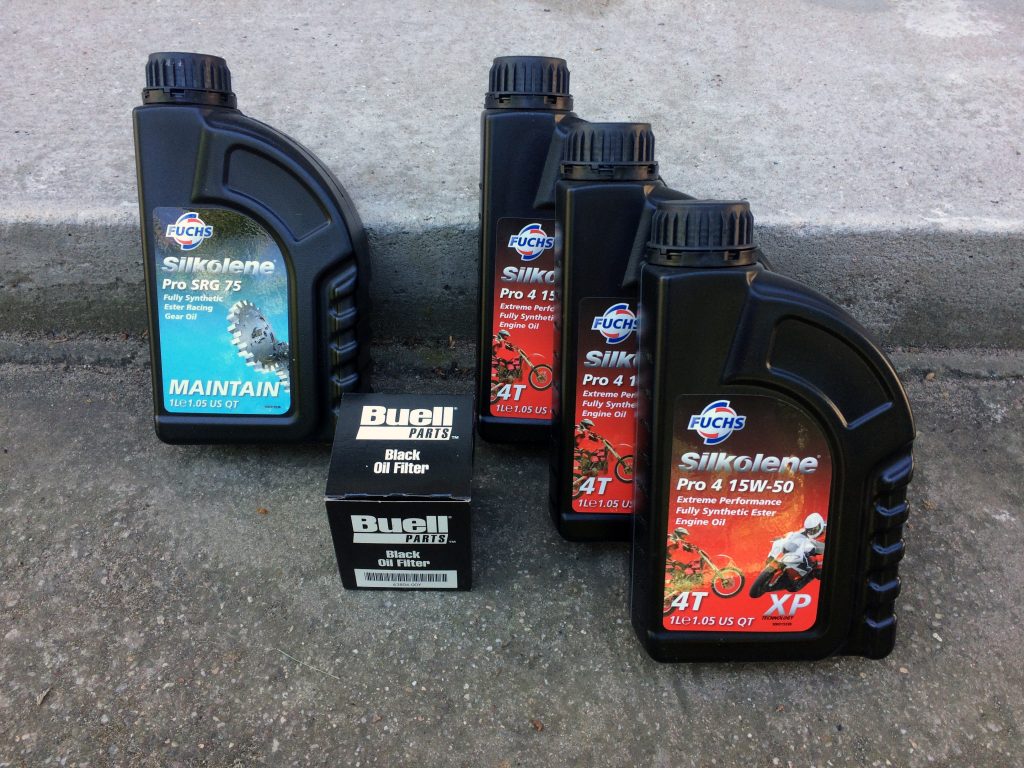
These are the service parts:
- 1x OEM oil Filter
- 2x O-ring
- 1x omega gasket
- 1x service gasket
- 3 Liter full synthetic 15W50 (Fuchs Pro 4 15W50)
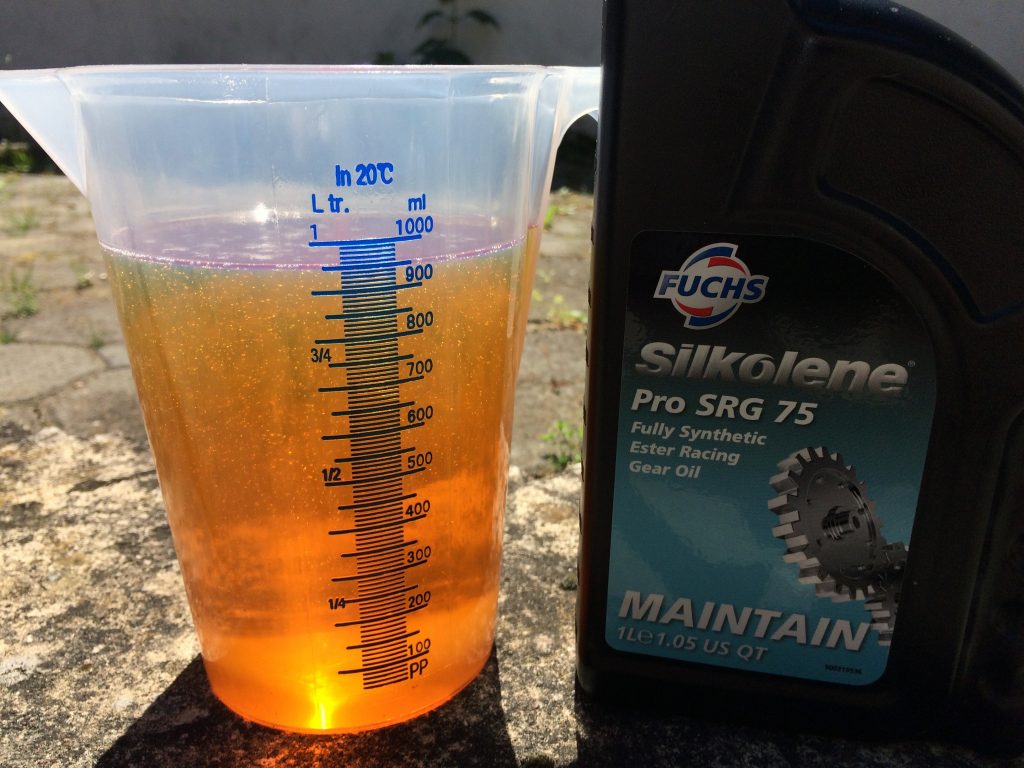
- 1 Liter full synthetic 10W30 (Fuchs Pro 4 SRG 75)
Terms and conditions: All work at own risk, NO warranty in ANY case of damage!
STEP 1
First we need to warm up the engine. Best to do that is to take a short ride 10-15min. After that turn the engineoff and you are ready to go.
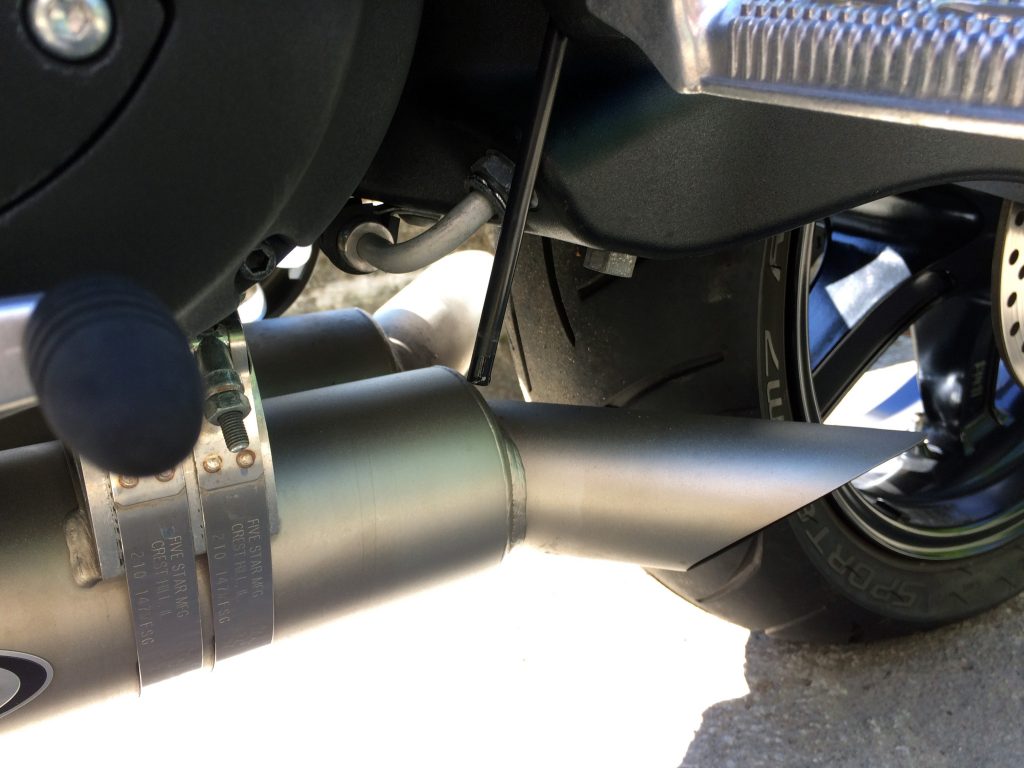
STEP 2
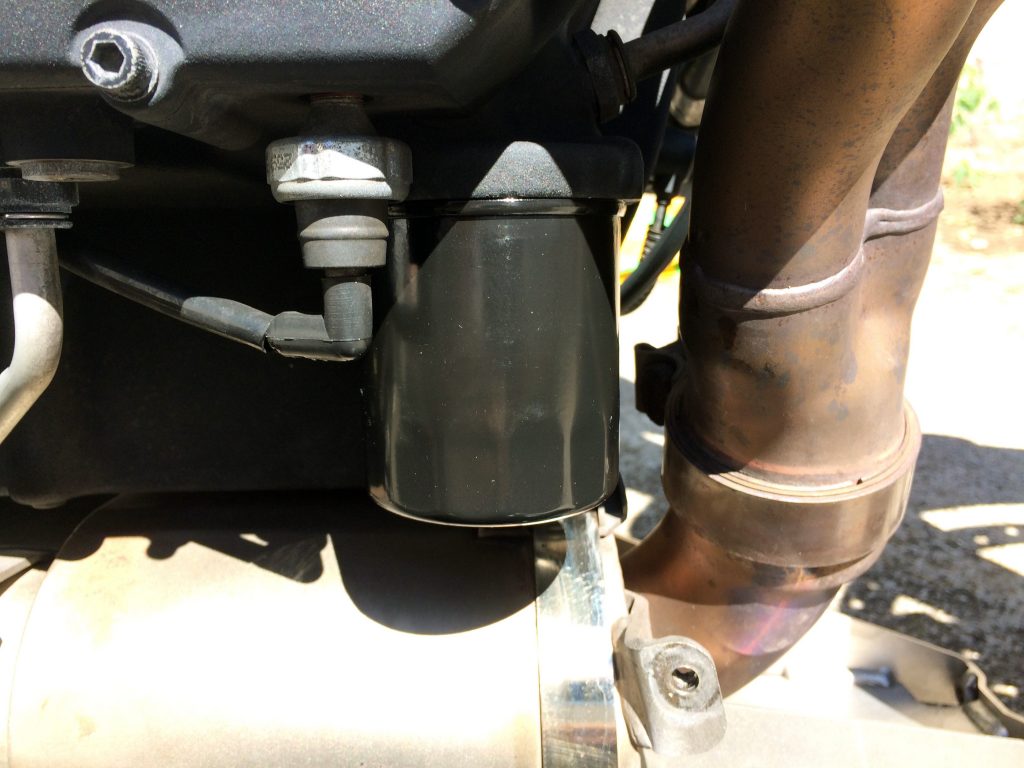
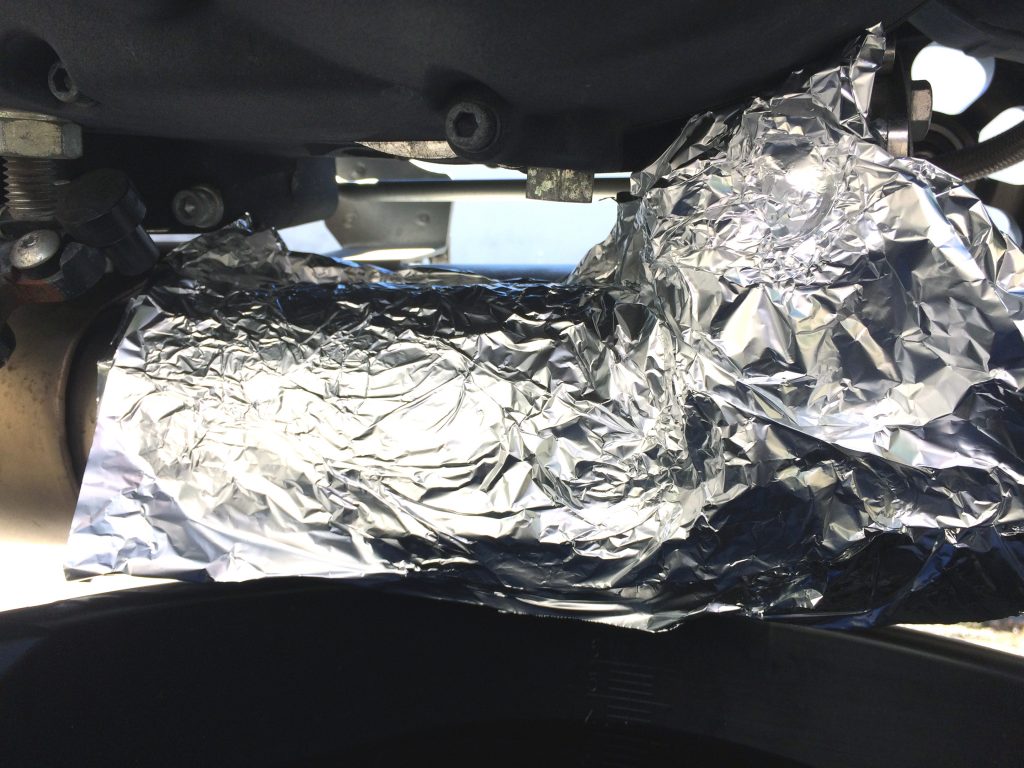
First we are looking for the engine oil and filter. The drain plug is on the left side underneath the swingarm so put the oil pan in this section. You also should place some aluminum foil on the (hot) exhaust to prevent any kind of contact withe the oil.
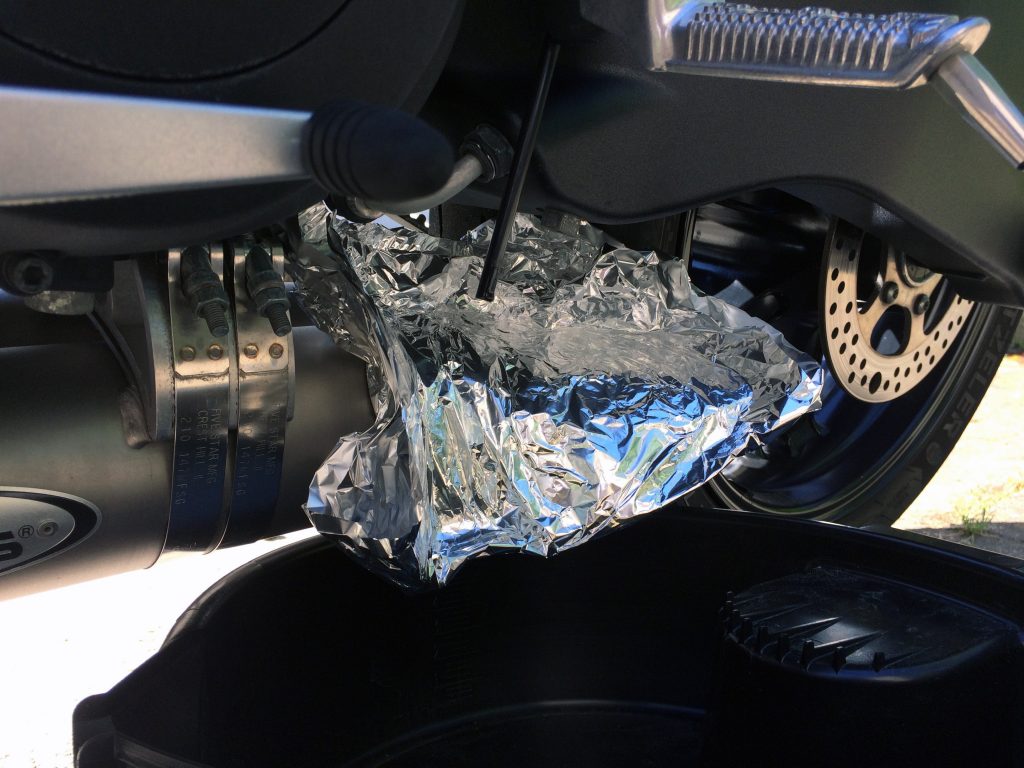
Open the refill cap and release the drain plug with the 5/8 HEX to free the old oil – (CAUTION HOT!).
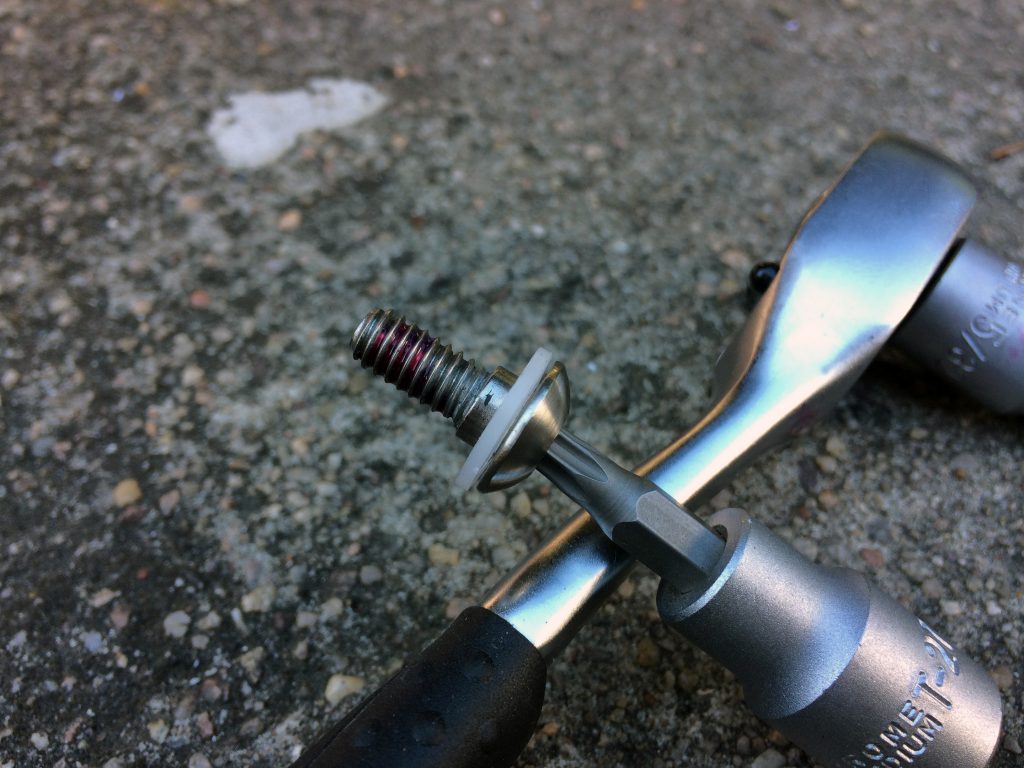
STEP 3
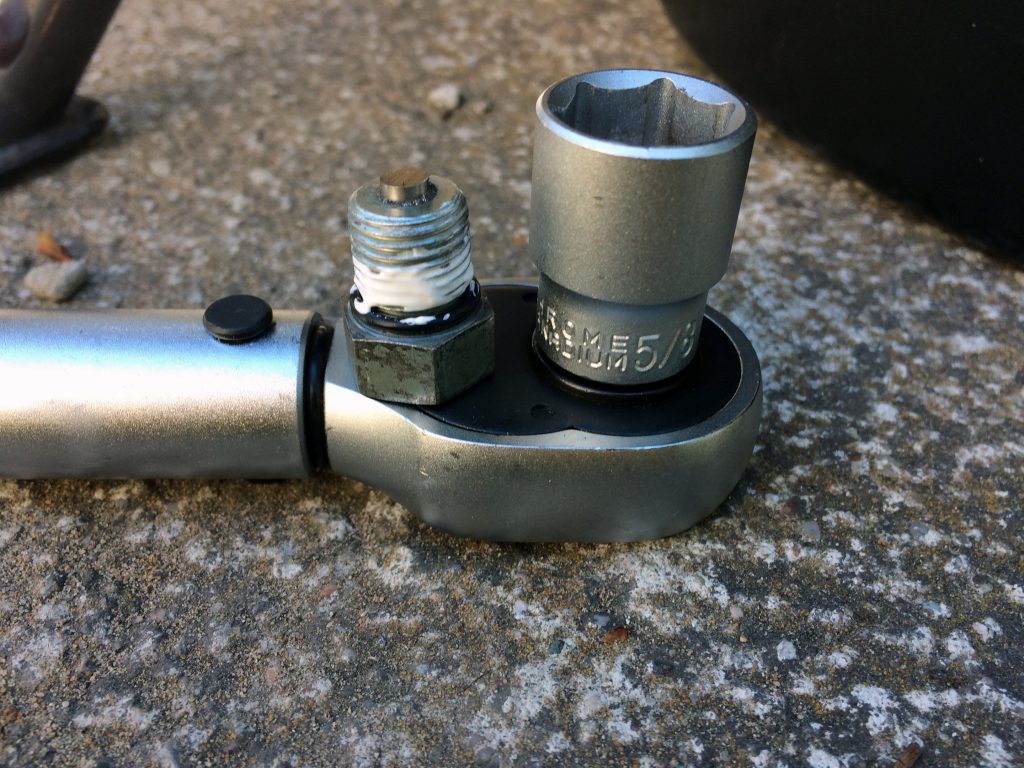
While the oil is draining check the screw for chips on the O-ring for signs of wear. On mine both are look good so nothing to do or change. Just clean it up and lubricate it with some Loctite 565 thread sealant. Then back in its place with 35,3-39,3NM.

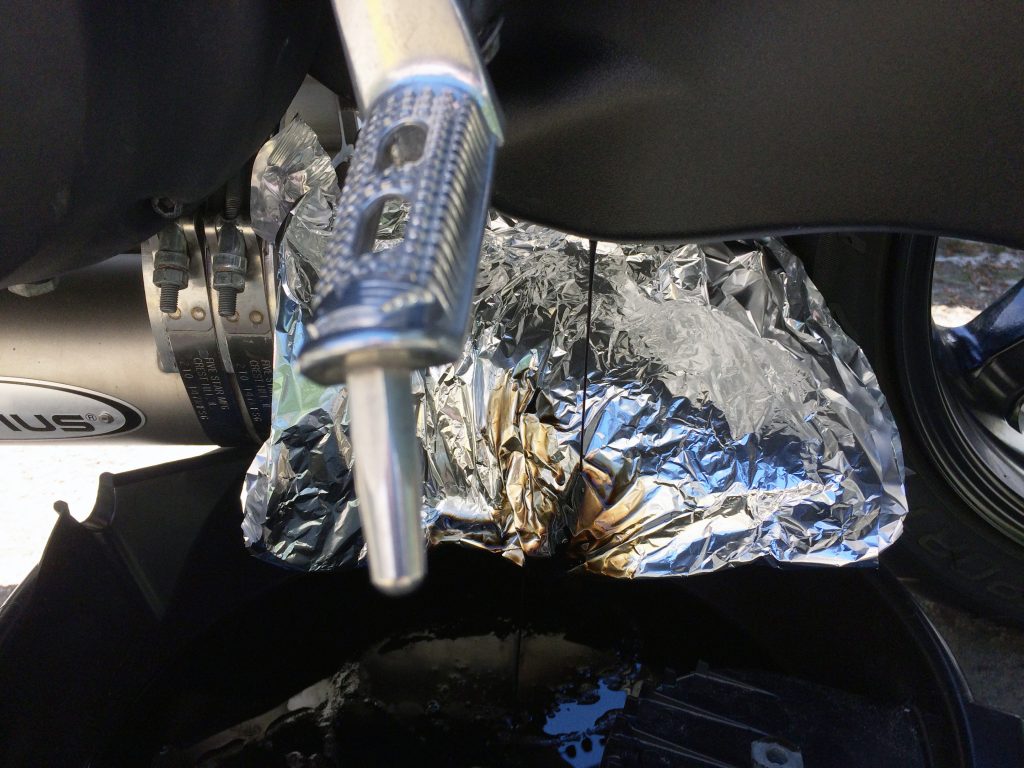
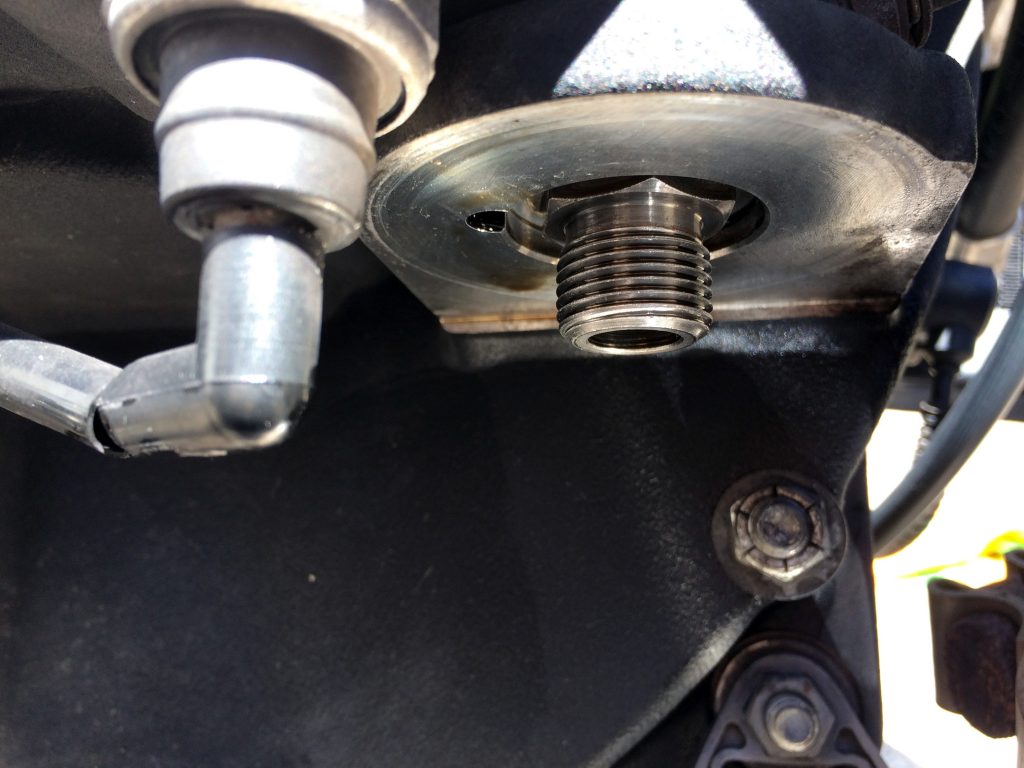
STEP 4
Now for the oil filter. Change the oil pan to the front and wrap some aluminium foil around the exhaust. Then release the filter by hand or claw and let the oil drain. After that clear everything up.

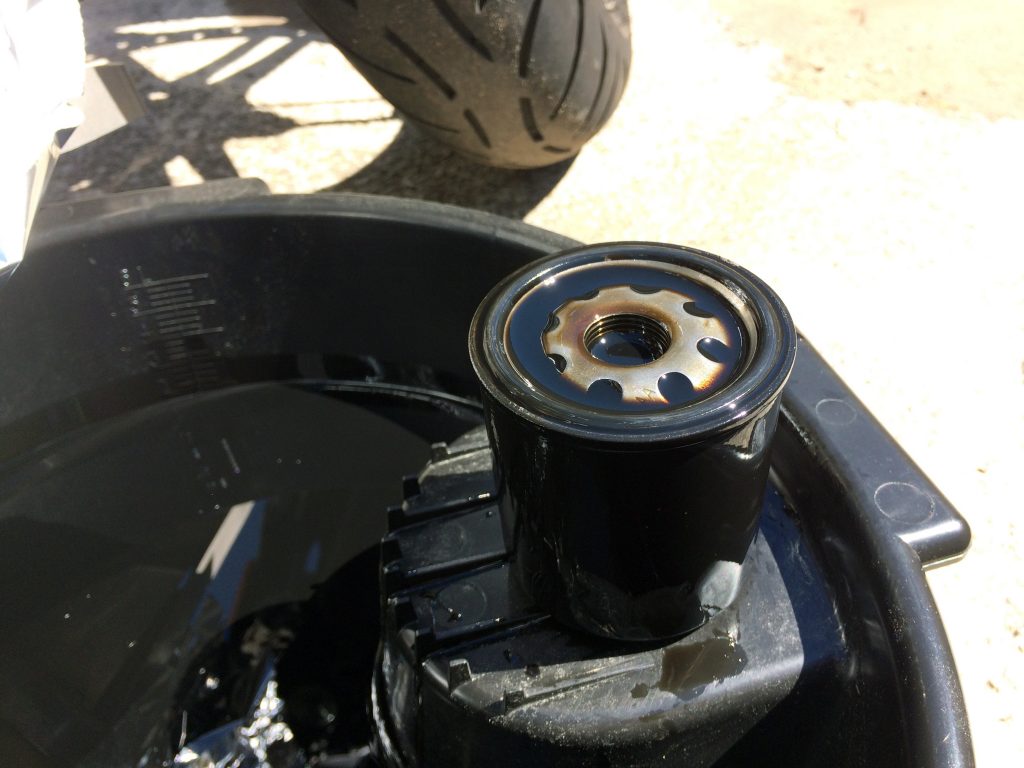
STEP 5
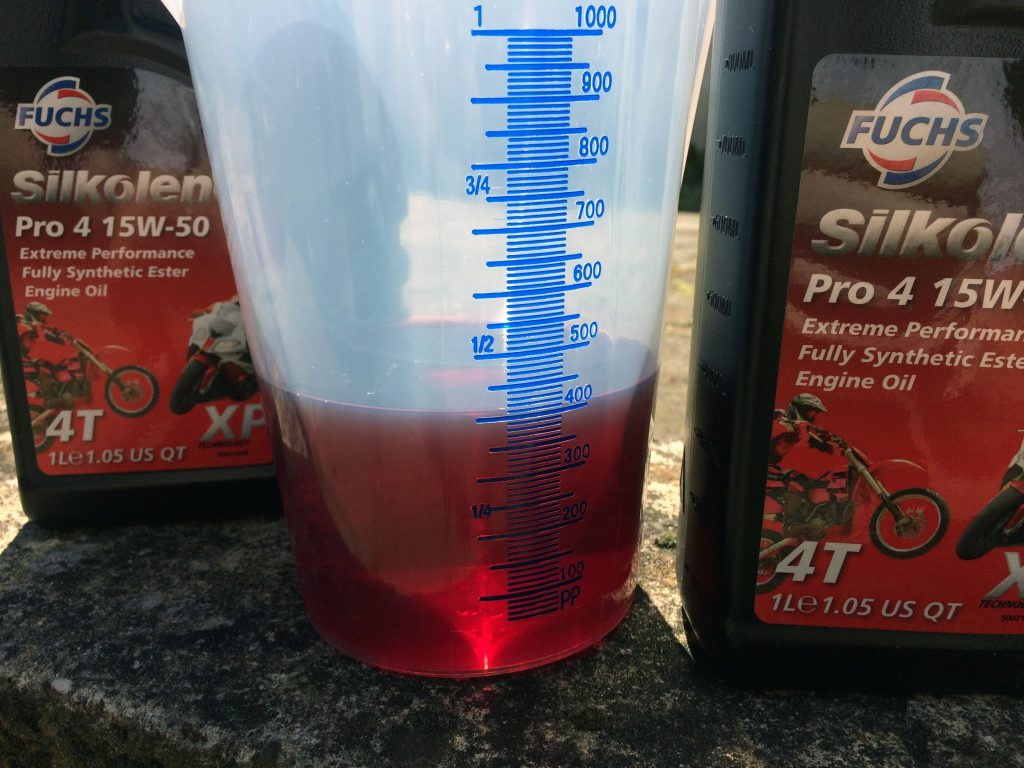
Now it is time to refill the engine oil – overall we need ~2,4 Liter of oil. From now on no more HD swill… I will fill it up with Fuchs Pro 4 15W50!
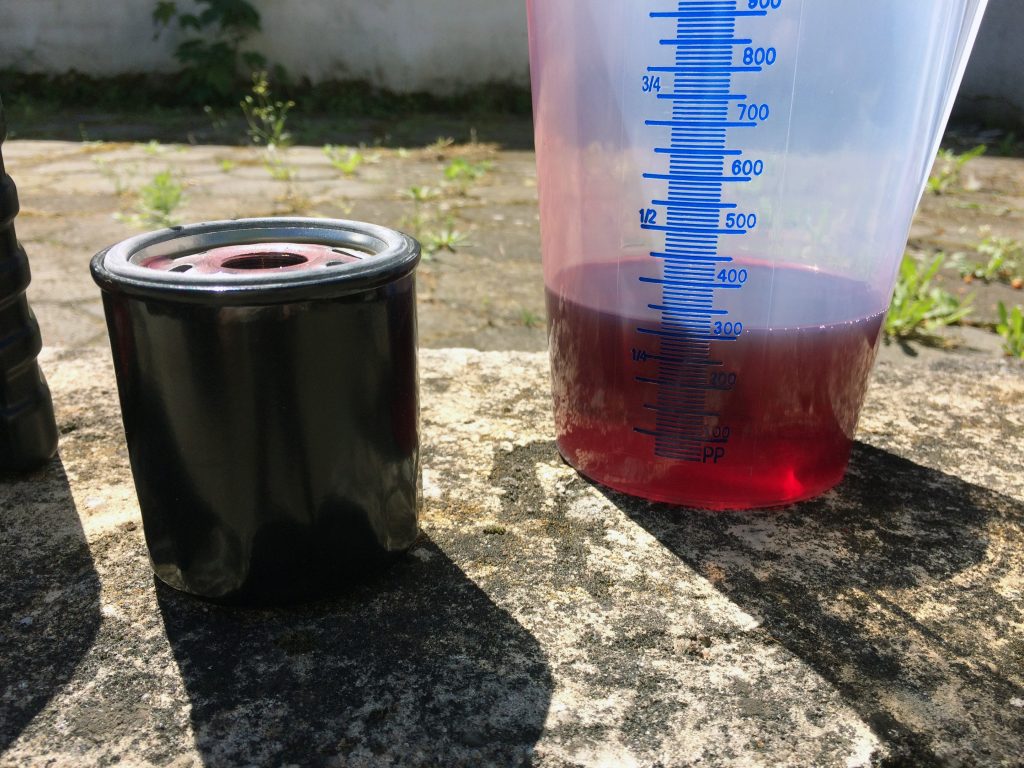
First step of the refill process is to put ~100ml in the new filter (as much as you can see it). Second is to lubricate the sealant with a some oil so it fits and tightens better on reassembly.
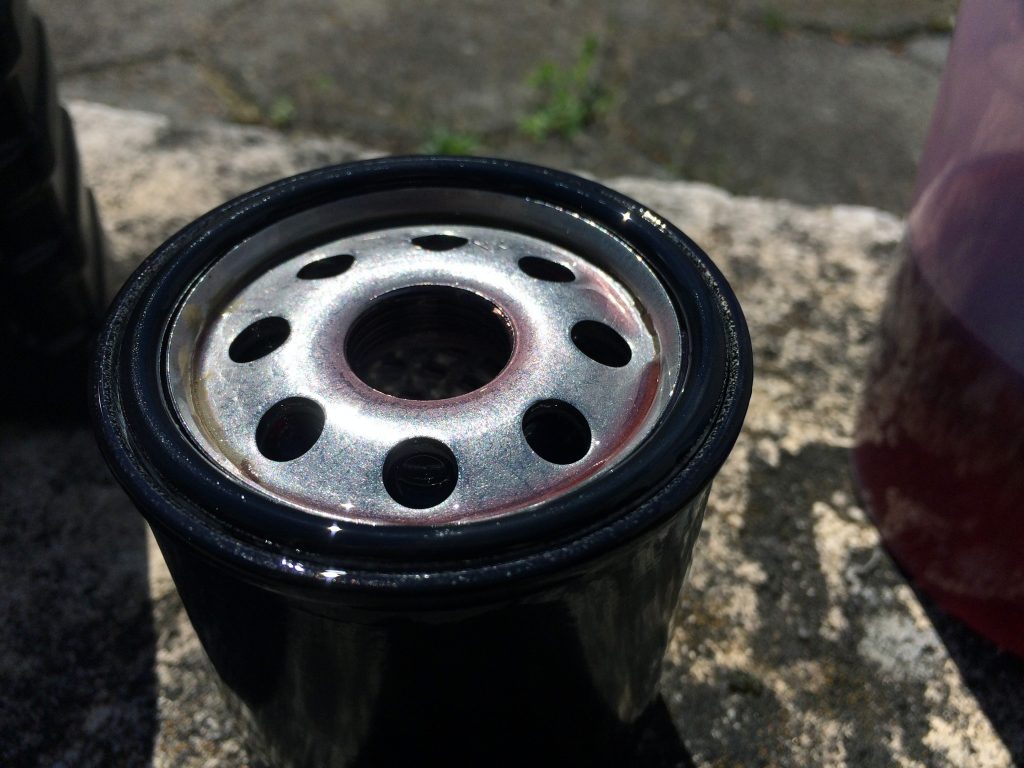
Then screw the new filter back in place until the filter gasket touches the crank-case surface (hand-tight). In the end do an additional 1/2 to 3/4 turn for its final fit – do not overtighten!
The rest of the oil goes into the swingarm. For now you can close it with the dip stick, we will check the level later.
STEP 6
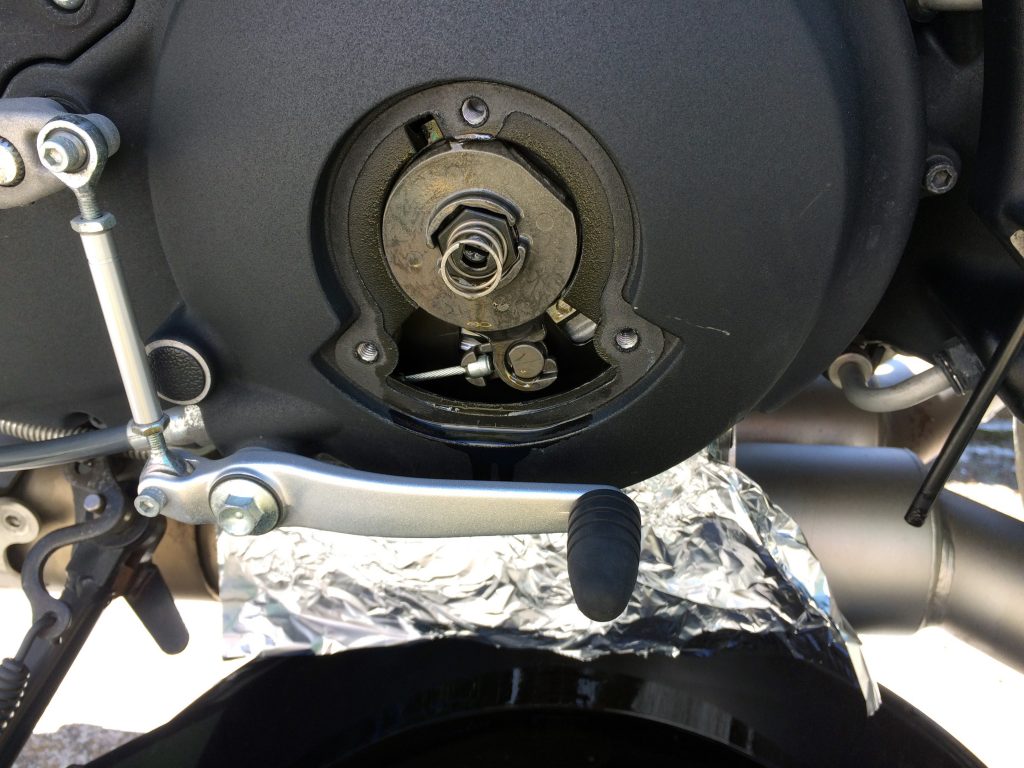
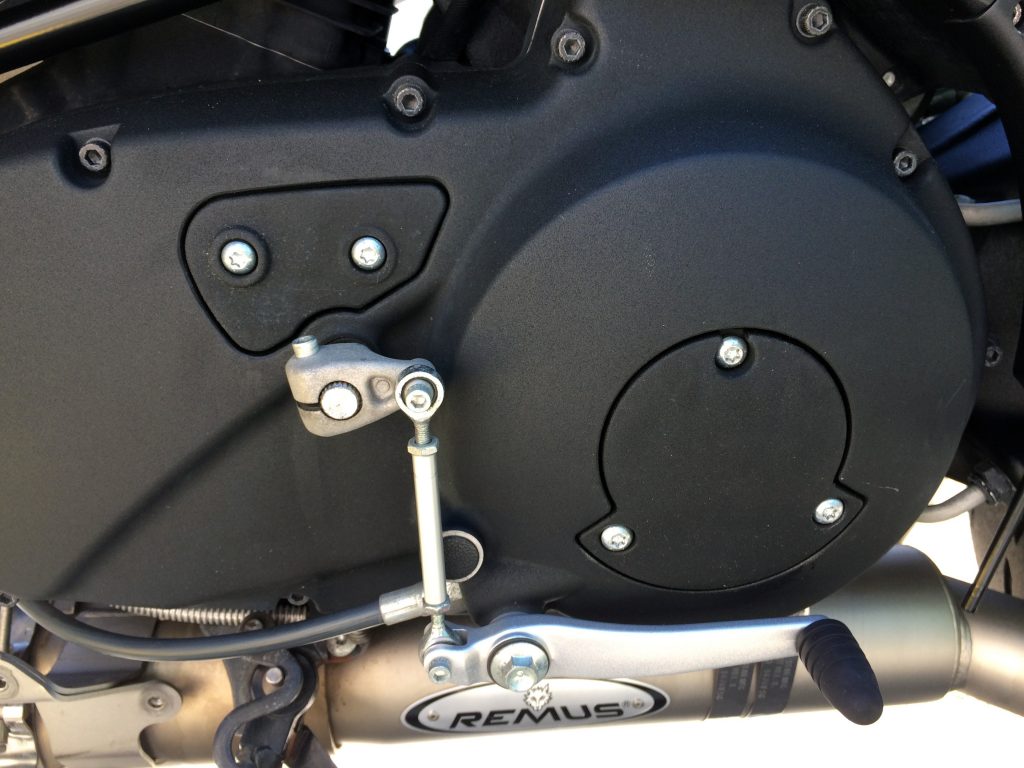
Now for the transmission oil. The drain plug is on the left side under the omega cover but first open the maintaining- and omega cover first (27 HEX).
STEP 7
Same on this screw, check the O-ring for signs of wear and the magnet for chips. After cleaning apply some Loctiet 565 and tighten it with 19-40,7NM.
STEP 8
Now for the primary fill-up. Just 0,95Liter of fine Fuchs Pro 4 SRG 75 transmission oil are needed. The way it goes is through the maintaining window.
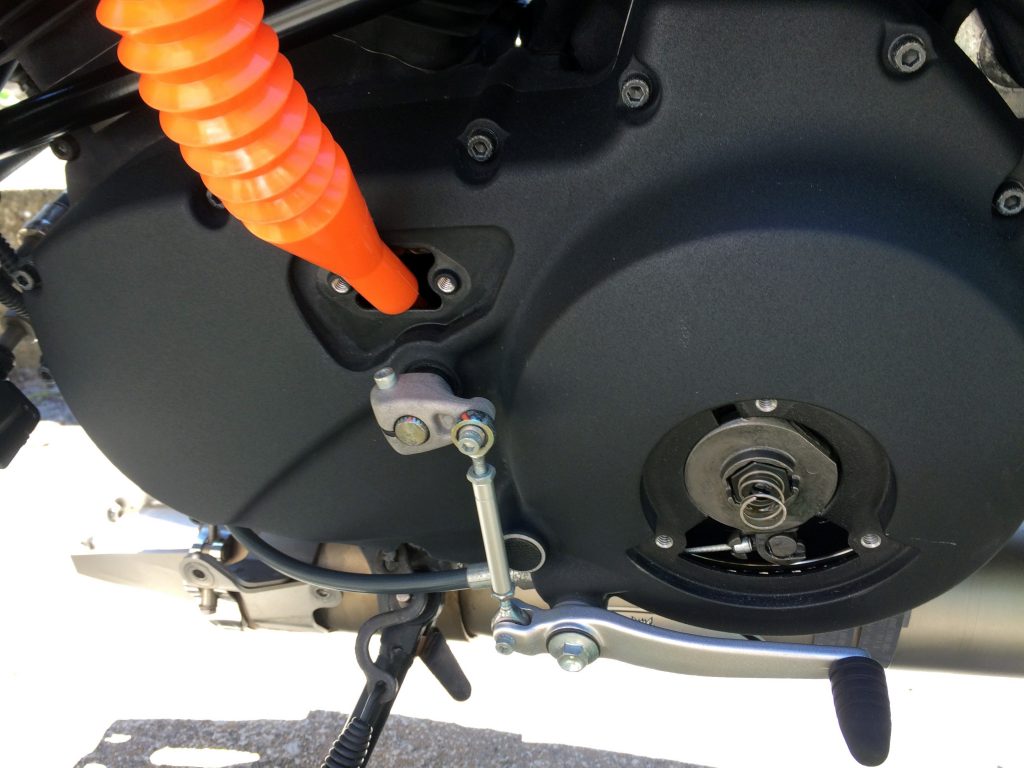
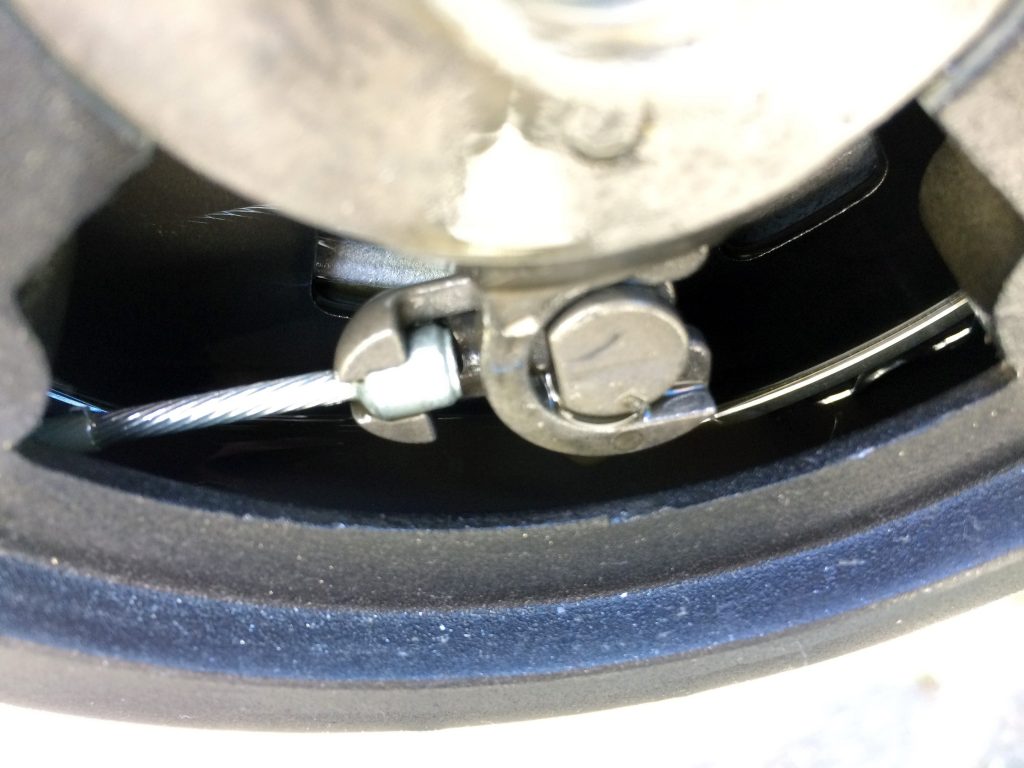
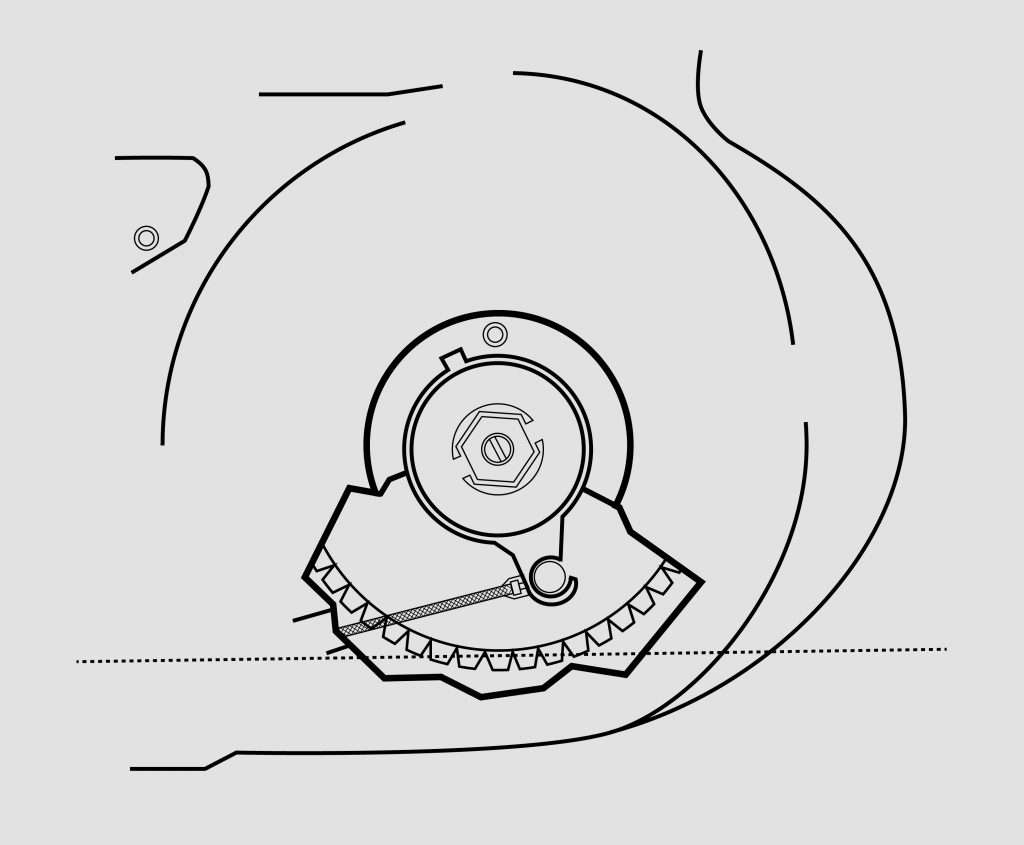
To check the right oil gauge you must level the bike and take a look through the omega entrance.
NOTE: Just the bottom teeth must dip into the oil, not more!
STEP 9
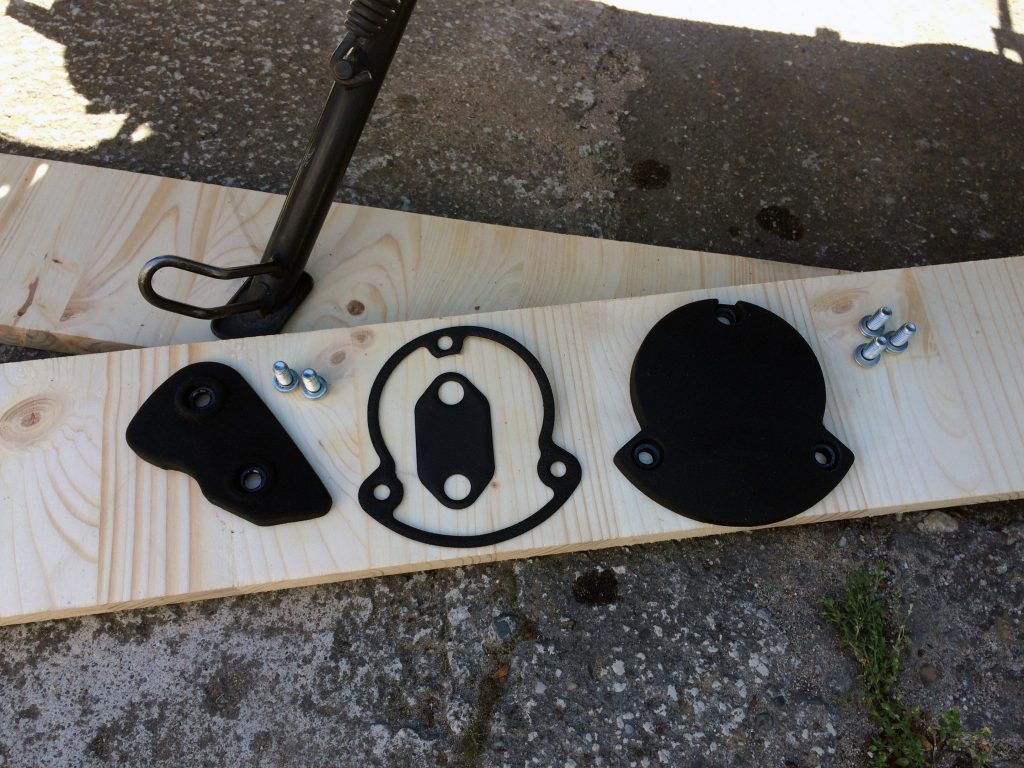
When the level is good check both gasketes (mine are ok but I changed both) and reassemble both covers with 9,5-12,2 NM.
STEP 10
Now for the first engine start with fresh blood running through the veins. The Engine indicator will be lighten untill the oil pressure is ok ~2-5sec. Then everything is fine and it will be turn off. Check all drain plugs and the oil filter for any kind of leaking.
If everything looks good turn it off and check the engine oil gauge with the dipstick (swingarm). Maybe you need just a bit more oil. I added 125ml on mine.
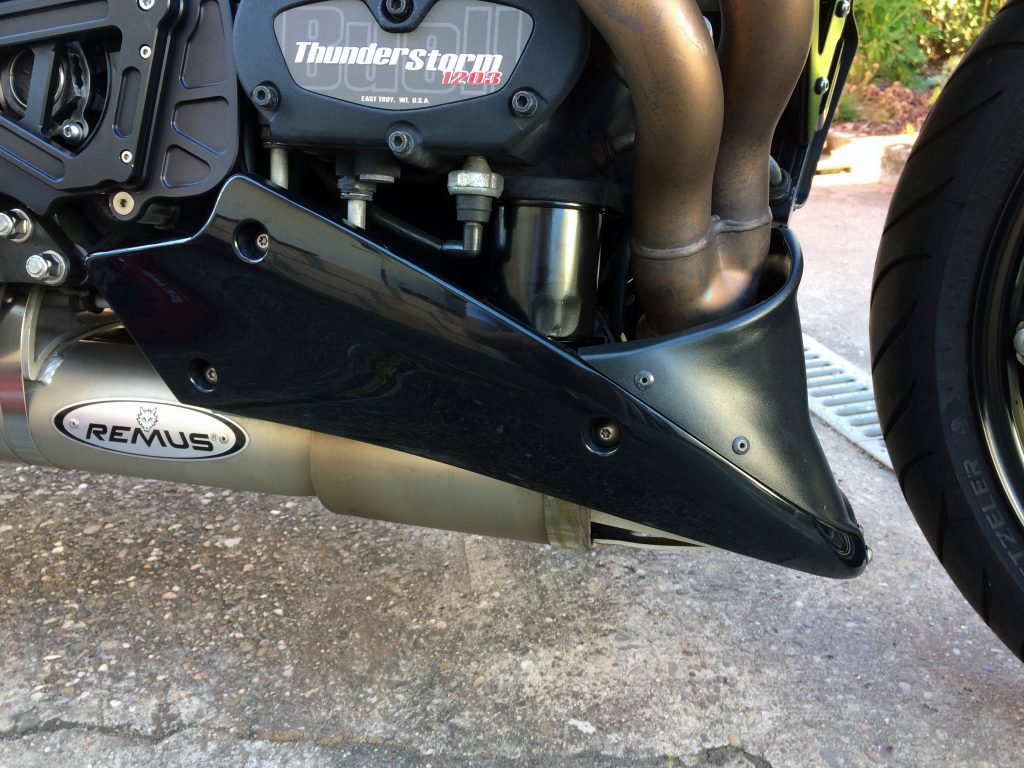
STEP 11
Now a short run 5-10min to make sure every thing is working fine and a final check for the oil level. Then you can reassemble the chin fairing, Loctite 271 and 4-5,4 NM (TX27 and HEX5/32). And yourn done.