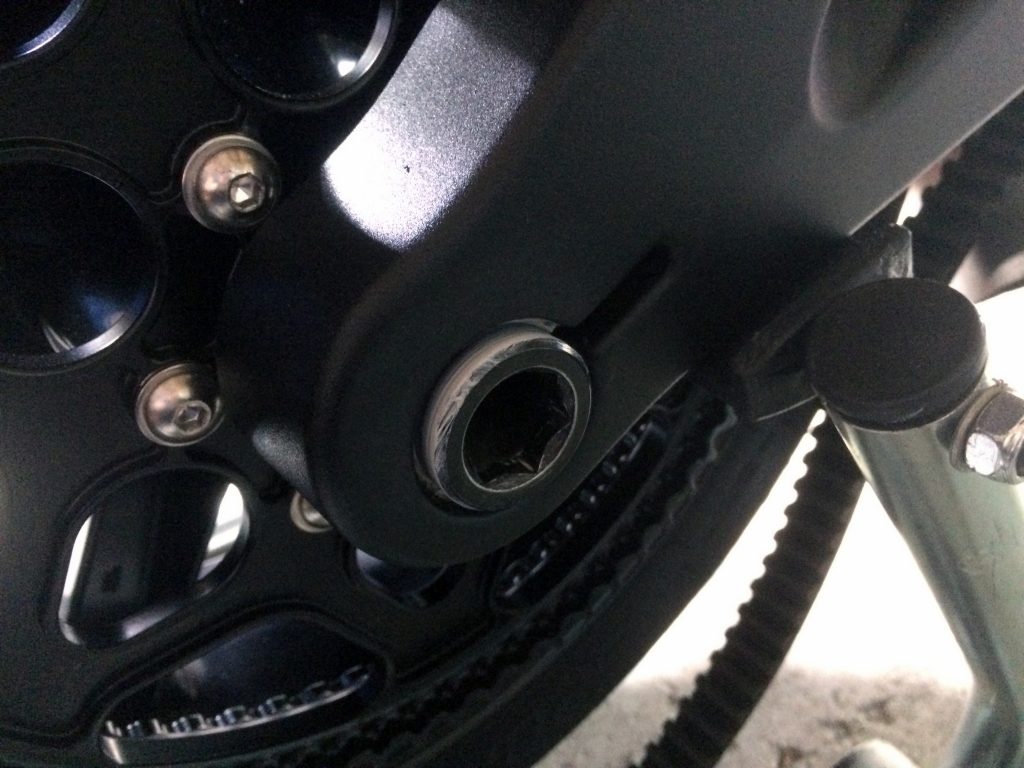
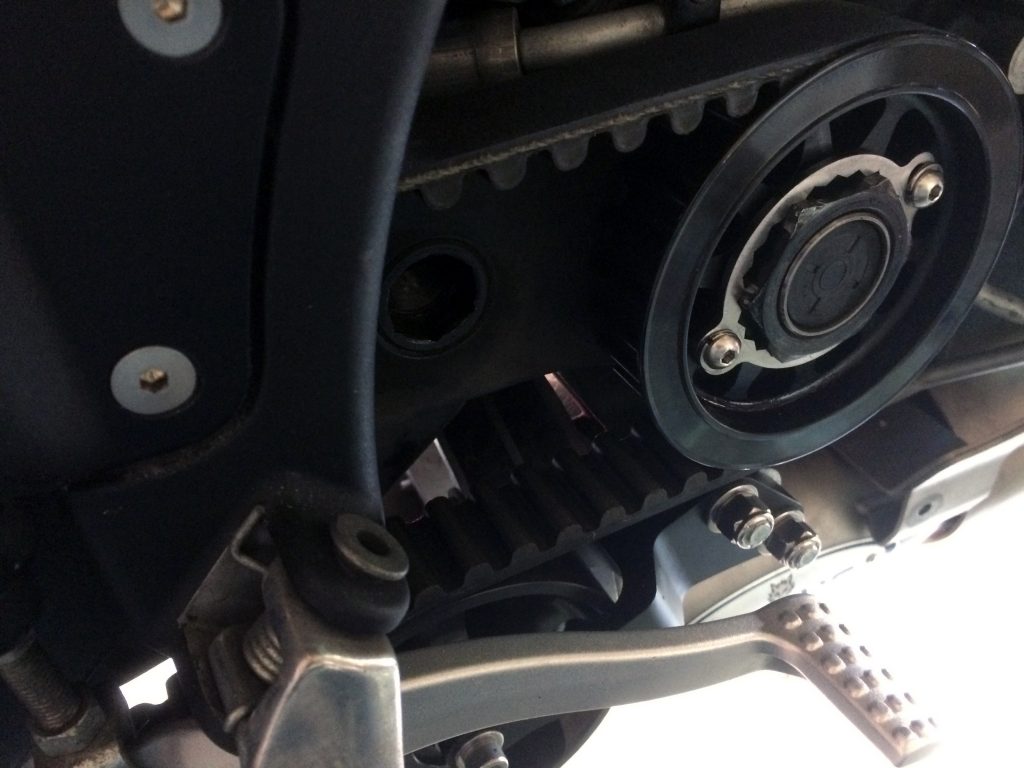
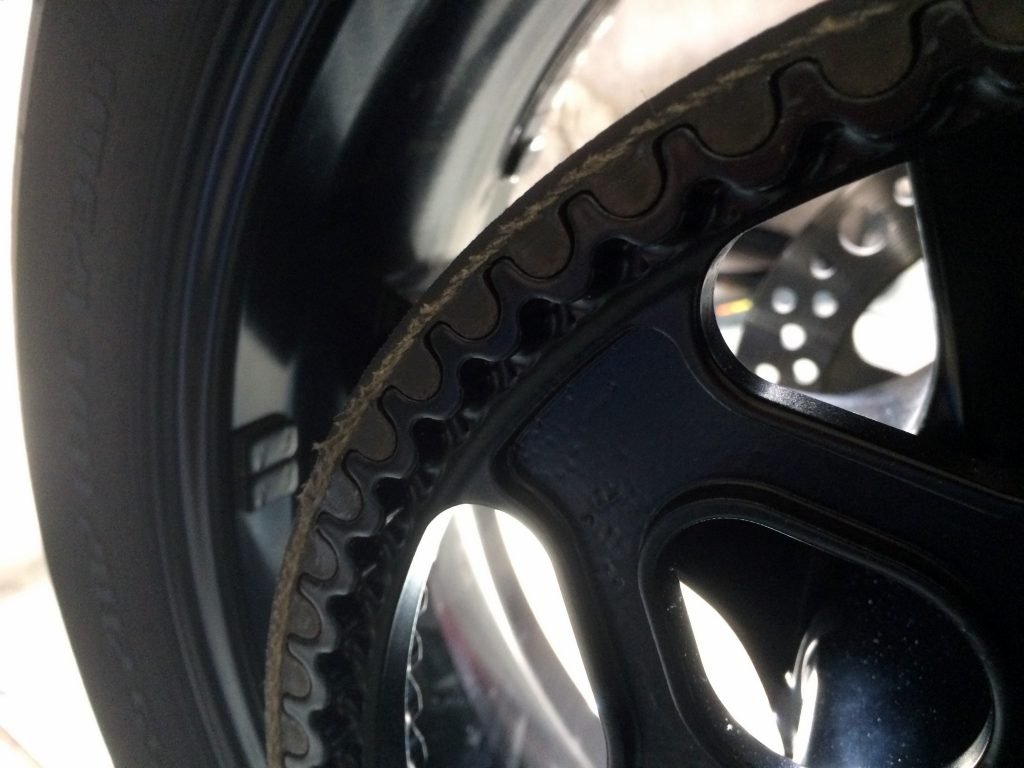
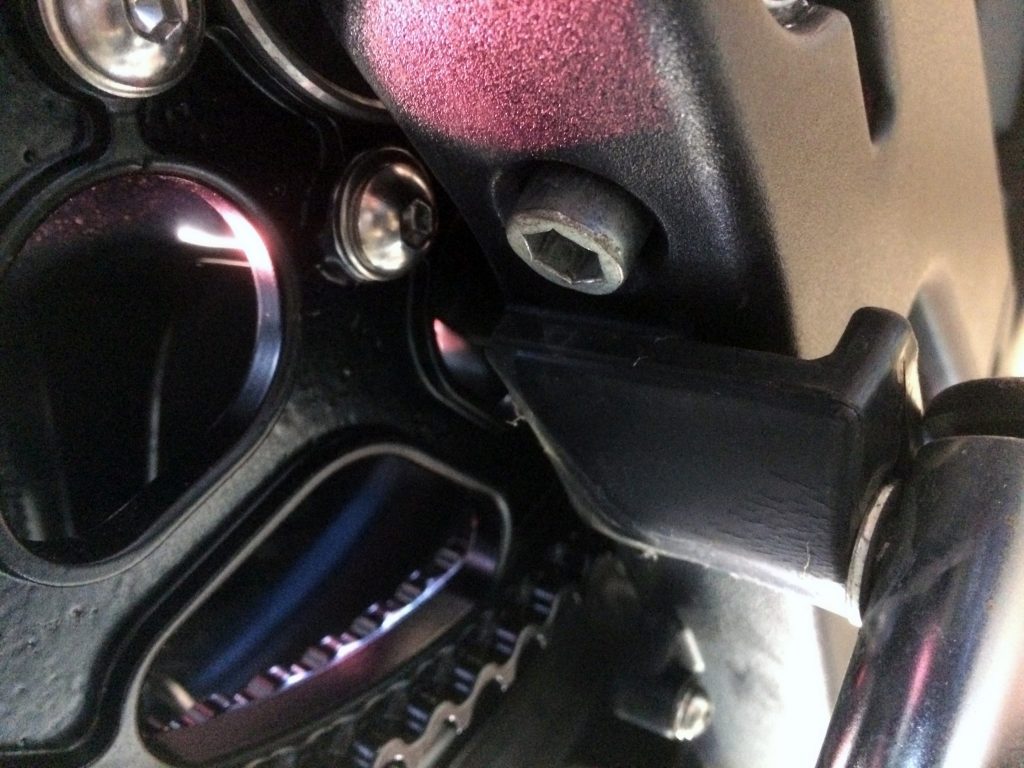
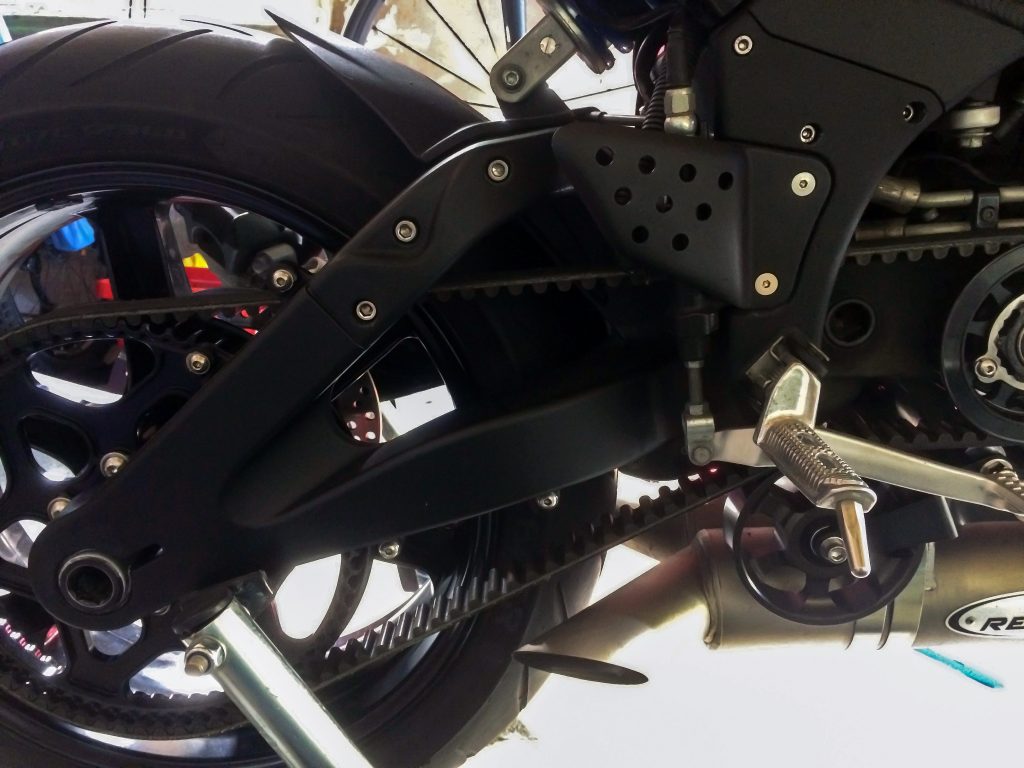
Finally the rear wheel back in place.
Related posts:
These are the tools:
- 5/16 HEX
- 3/8 HEX
- 22 HEX (metric)
- 22 NUT (metric)
- torque wrench
- anti seize
- Loctite 243
Terms and conditions: All work at own risk, NO warranty in ANY case of damage!
STEP 1
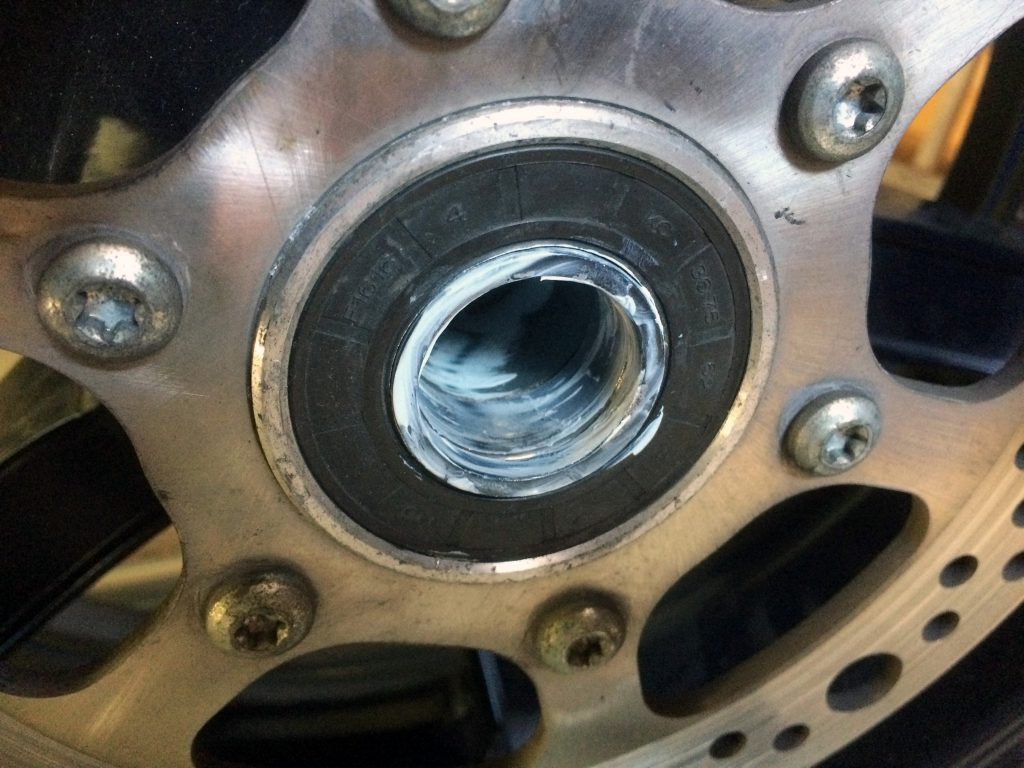
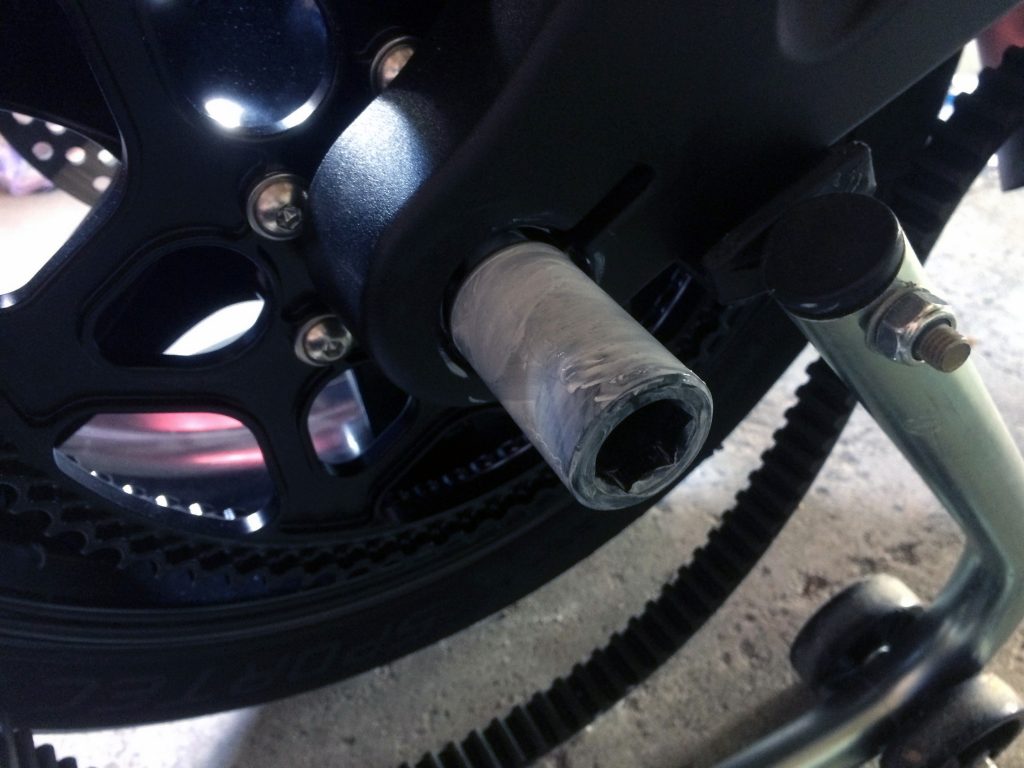
First is to prepare the axle spacer with some ant seize and put it in the bearing on the left side (braking rotor). This is only on the 2010 models with the three bearings.
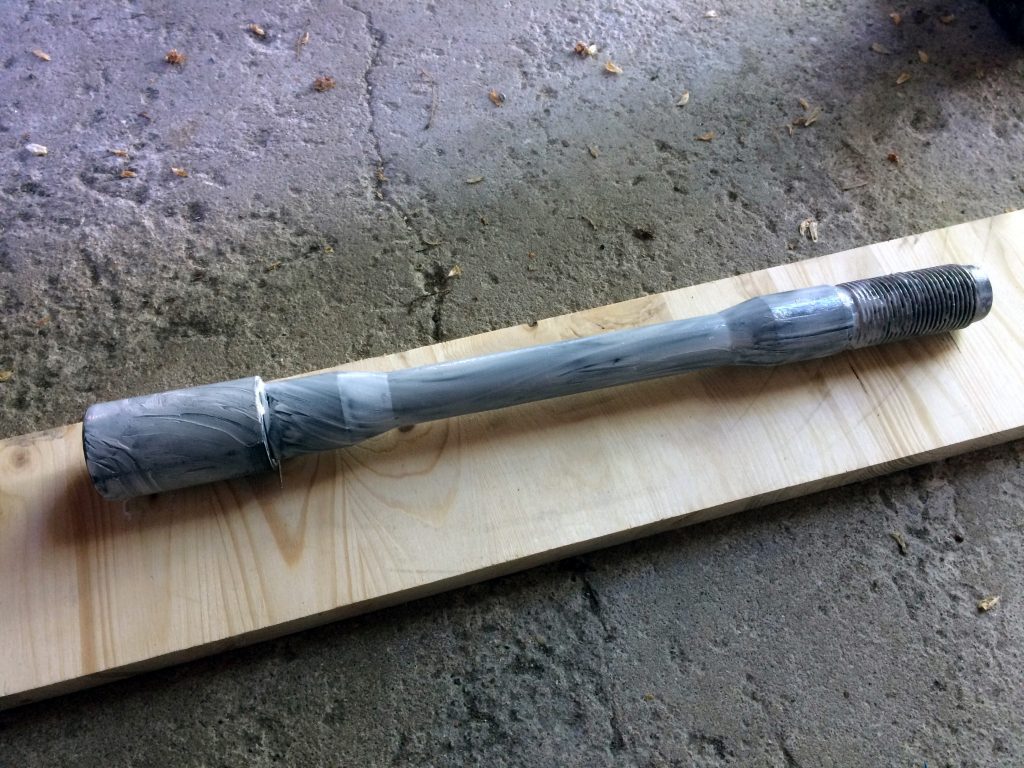
Then for the rear axis itself, just a nice coat of anti seize.
STEP 2
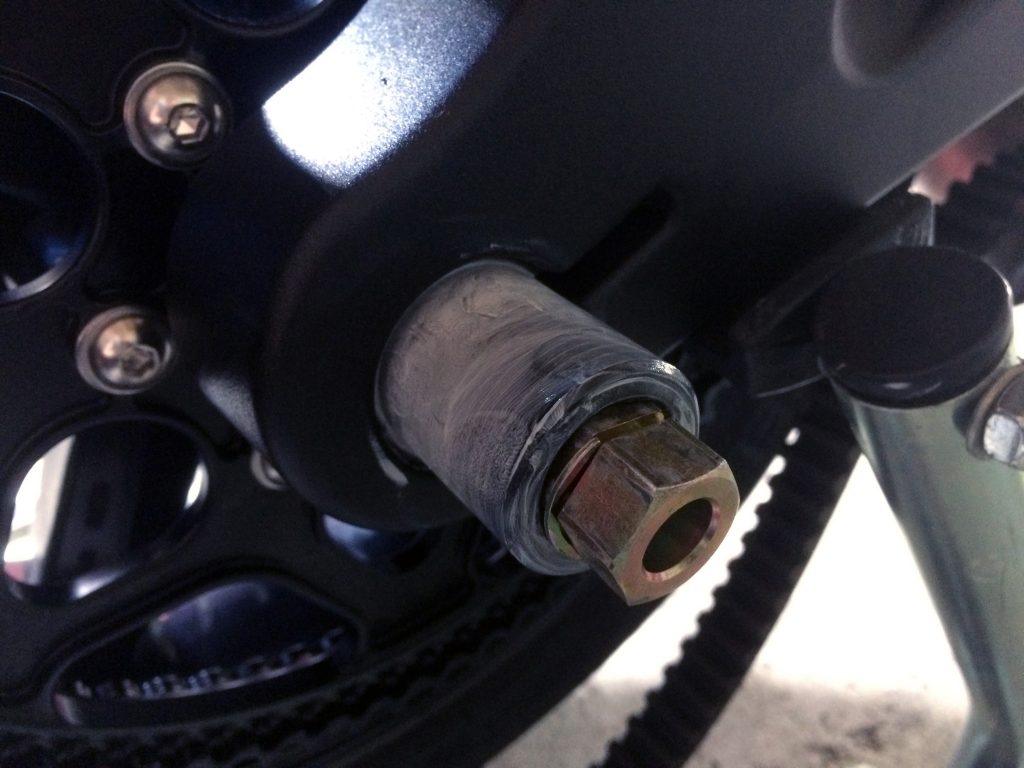
Place the rear wheel inside the swingarm and pass the belt through the pulley (make sure the belt is behind the axle entrance). Then raise the wheel so it is possible to stick the axis thru. At last tighten it loose with the 22 HEX from the tool kit.
STEP 3
Now for the belt. First check the teeth fit on the sprocket and the correct guide on the idler pulley. Then strap it on the pulley while you rotate the back wheel.
STEP 4
After that torque the axle first to 31,2-36,6NM, back off two full turns and retighten it to 65,1-70,5NM. At last install the axle pinch fastener and tighten it to 54,2-61NM with the 3/8 HEX.
STEP 5
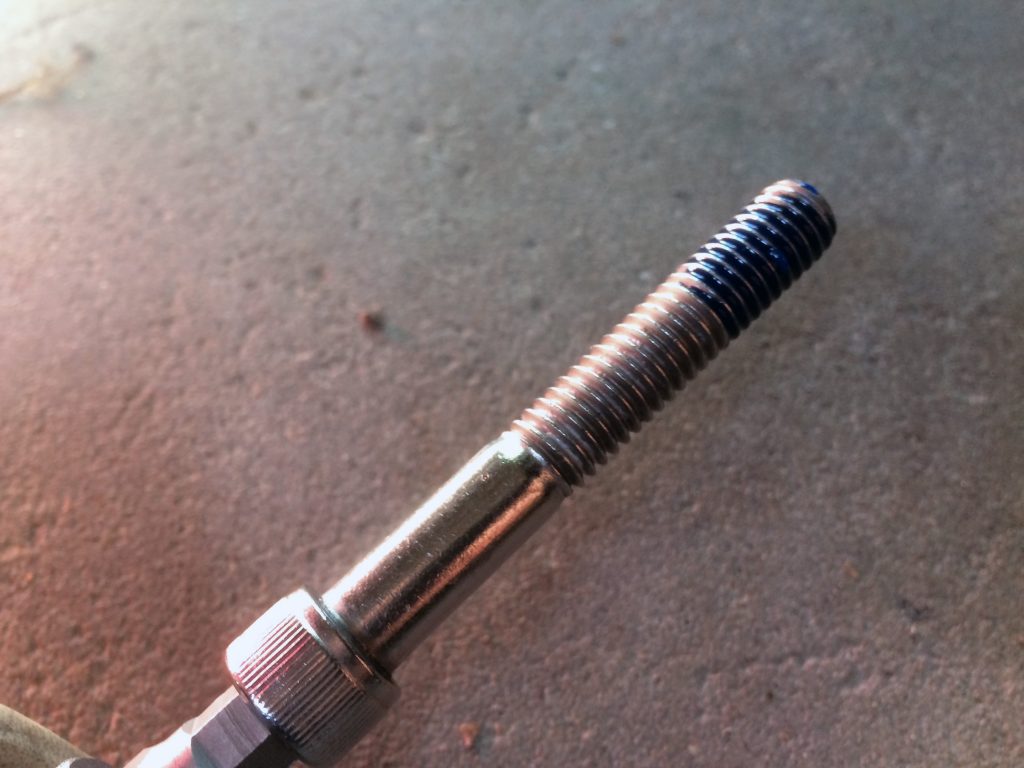
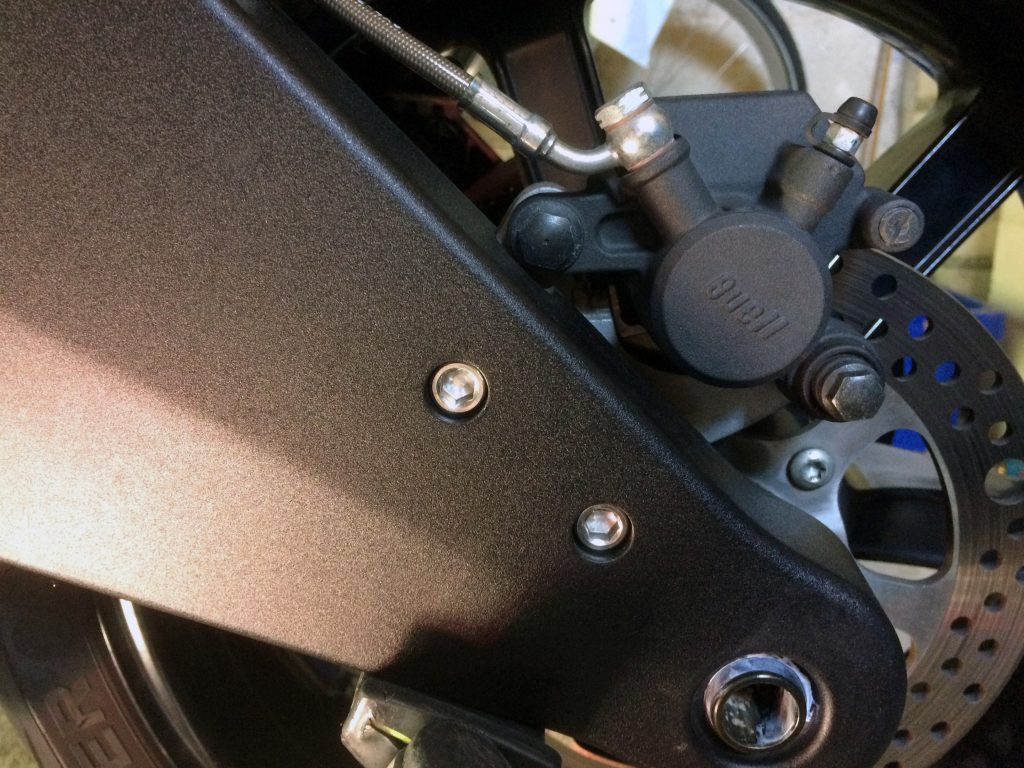
Finally install the rear brake caliper by putting it on the rotor. Secure the screws with Loctite 243 BLUE and a torque of 32,5-35,3NM.
